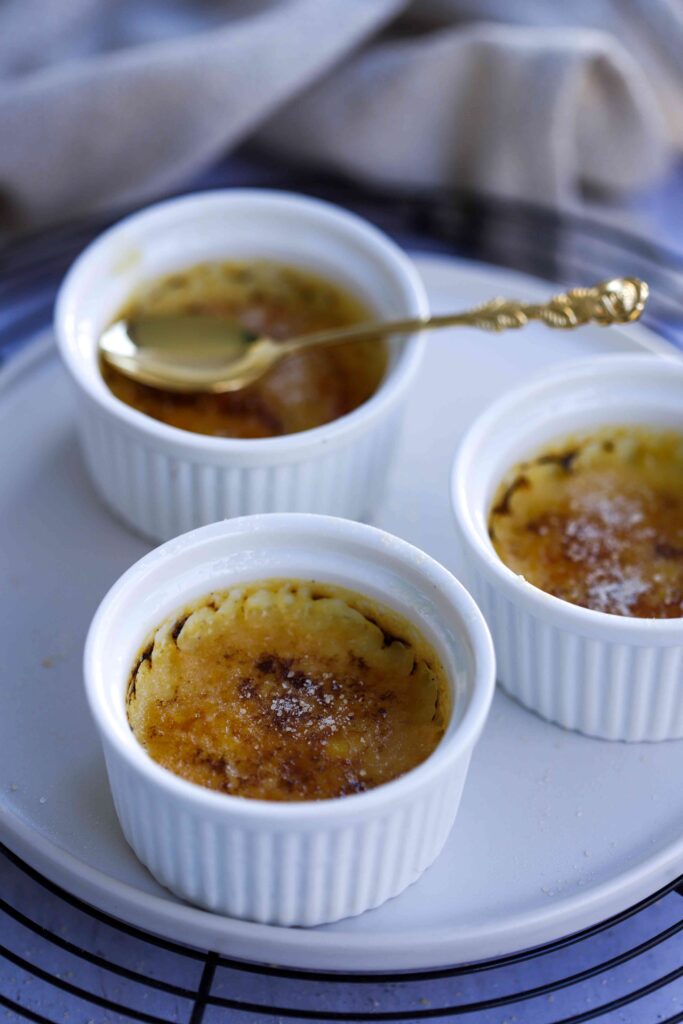
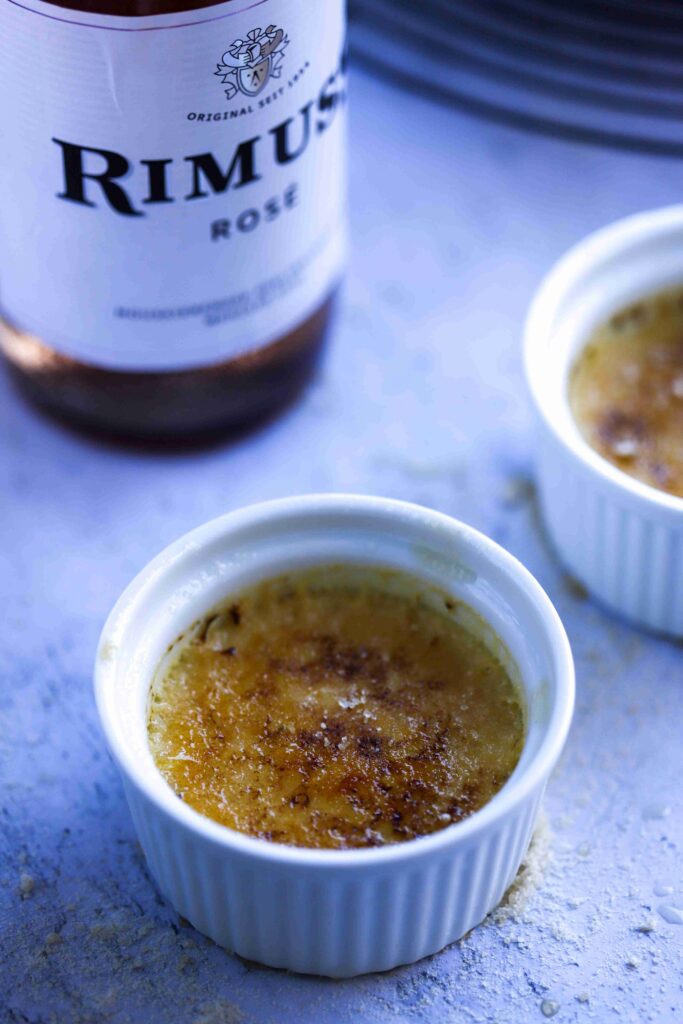
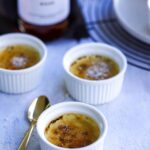
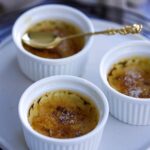
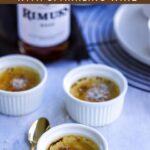
Creamy, rich, a little bit crunchy and absolutely yummy: This silky-smooth French vanilla custard paired with the crunchy caramelized sugar top is sure to make your tastebuds excited! My Crème Brûlée recipe uses only 5 ingredients including vanilla and Rimuss, a Swiss non-alcoholic sparkling wine. And better yet, Crème Brûlée is a really easy dessert – you don’t need to be a French chef to make a perfect, tasty custard!
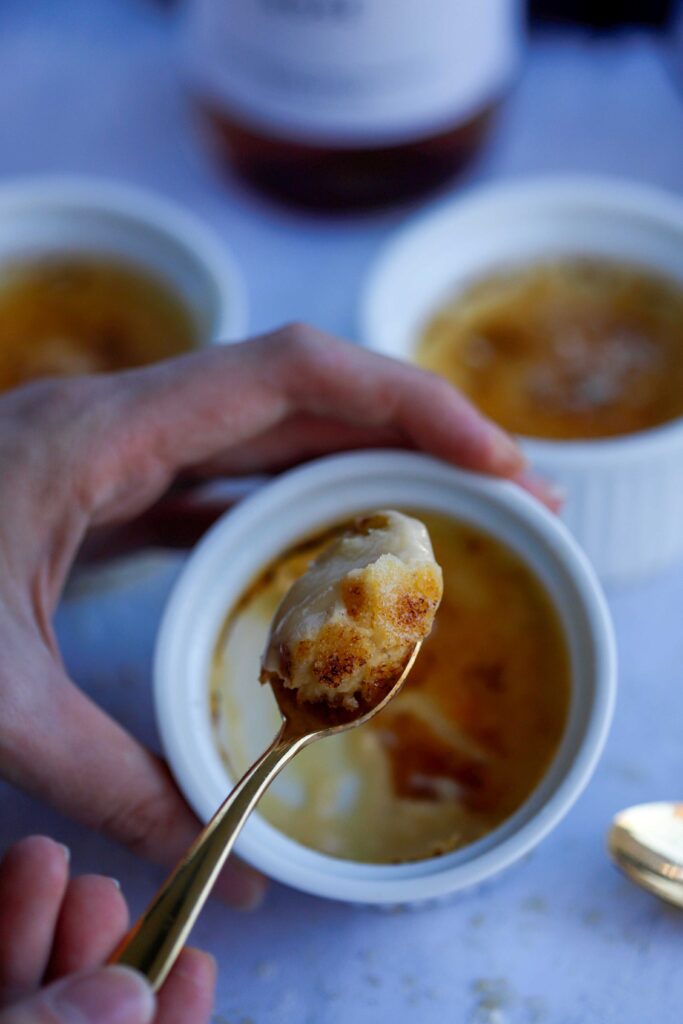
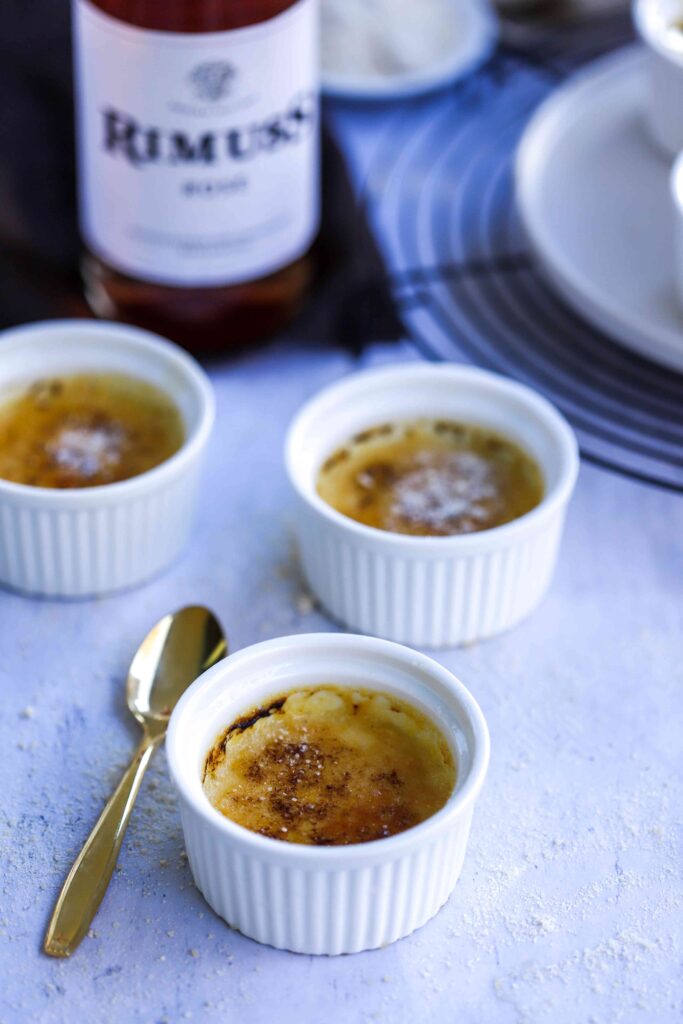
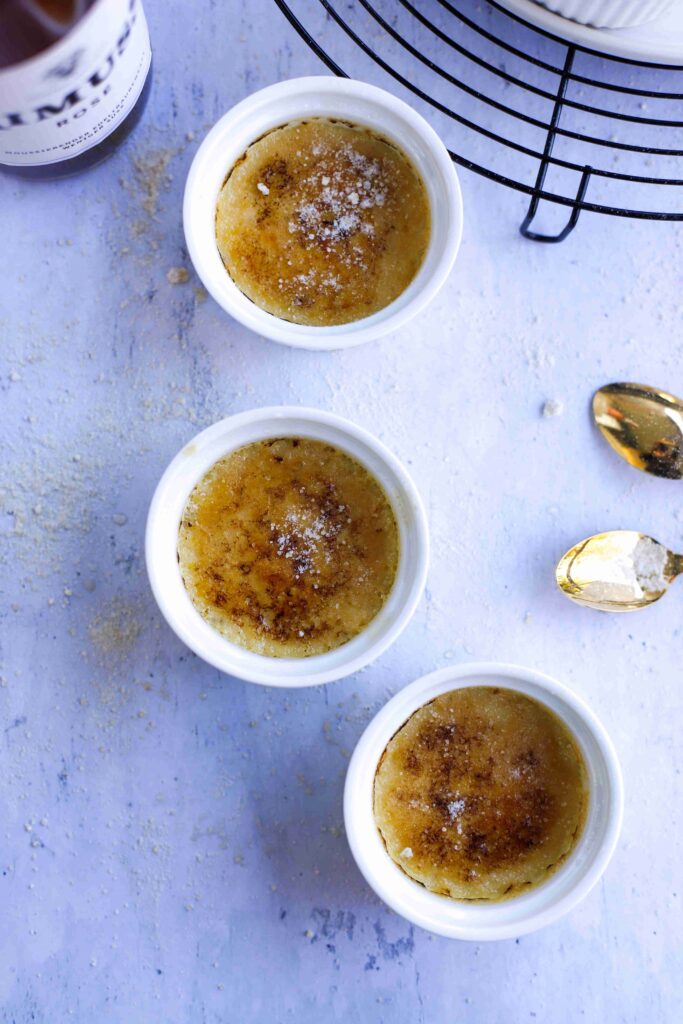
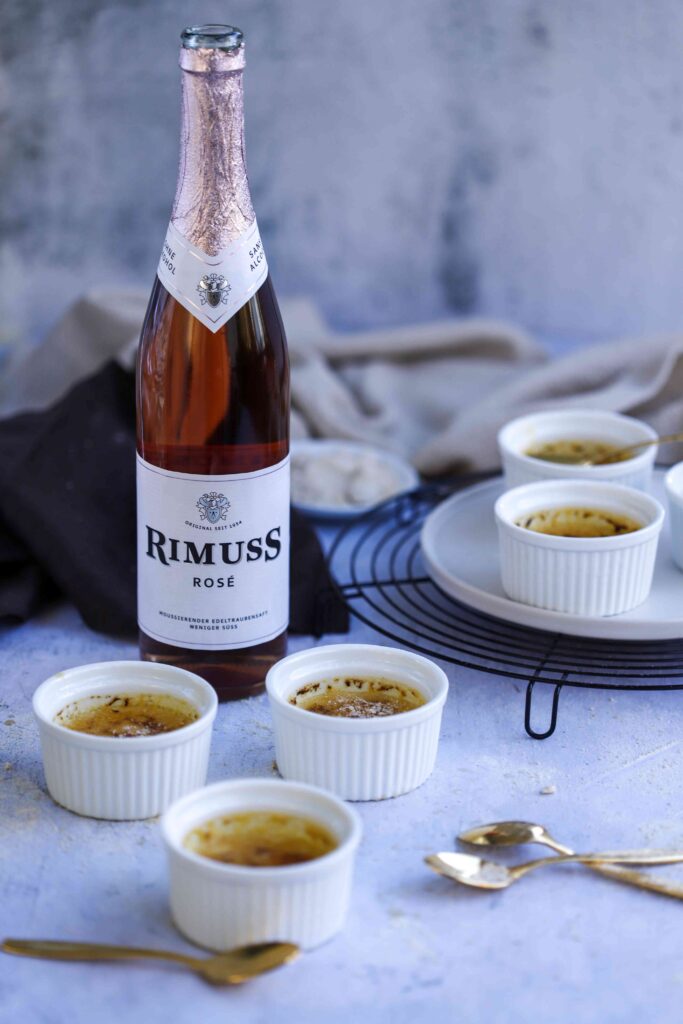
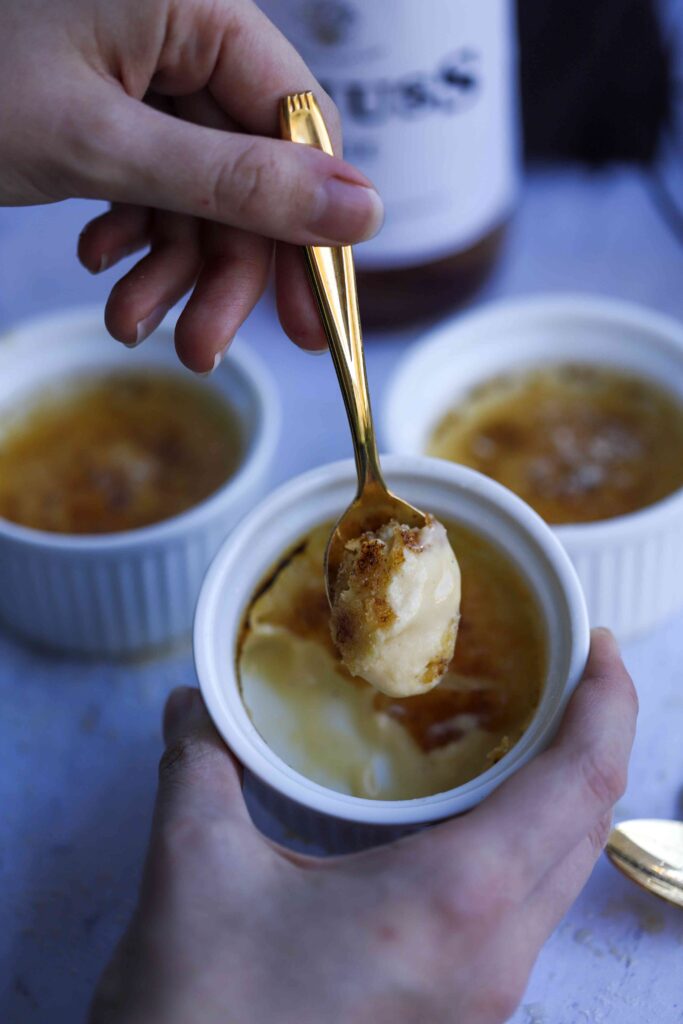
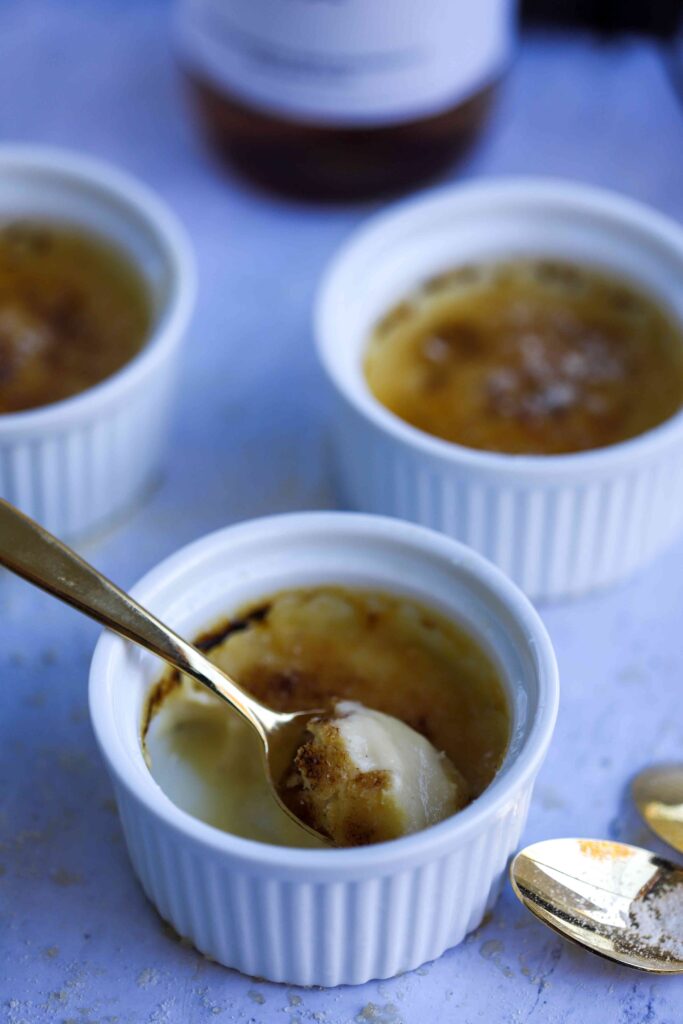
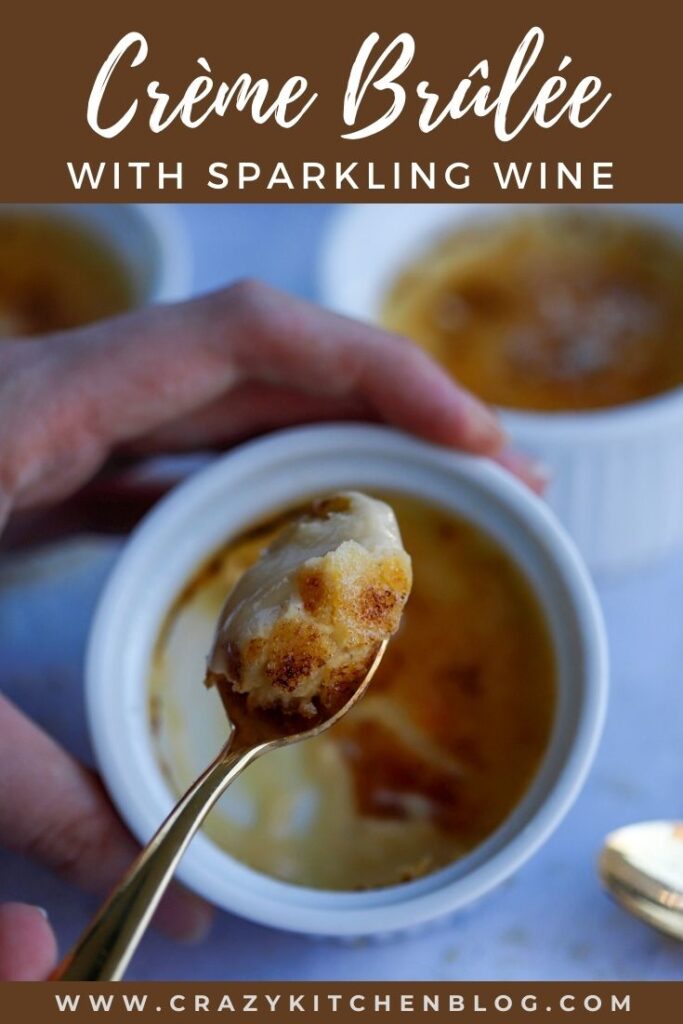
I absolutely adore the exciting textures of crème brûlée. On the bottom, you have a creamy, luscious, silky vanilla custard. But you only reach it when you crack the top layer: Crunchy caramelized sugar. The caramelized layer is almost my favourite part because it makes such a satisfying crackling sound when it is broken with a spoon (to get to the creamy custard, of course!).
In case you didn’t know what crème brûlée means:
Crème = cream; brûlée = burnt. Except you don’t actually burn the sugar on top – just caramelize it 🙂 Read on to learn about my tips for caramelizing!
Crème Brûlée – the myth
I bet you all have been to a fancy-schmancy French restaurant, had a fantastic meal, and then it was time for dessert. And one extremely luxurious dish on the dessert menu caught your eye: Crème Brûlée. If you finished your meal with crème brûlée, you know what I’m talking about when I say it’s good stuff. You felt like a French pastry chef escaped from Paris just to serve you this exquisite dessert whilst you were sitting on a golden throne wearing expensive silk. Okay, enough about the dreaming. Although I wouldn’t mind having a personal chef making this dessert for me.
Who ever said crème brûlée is hard: I am living proof that crème brûlée can be the star of the show without a huge level of expertise. This French dessert isn’t hard – if you stick to some simple “rules”. I think the hardest part that could go wrong is not having enough patience. Patience is key to this easy dessert! You also need to pay attention when you prepare the water-bath; but I will go onto more detail about that further down.
Making crème brûlée with sparkling wine isn’t a big hands-on job either, but you just need to plan enough time. It’s a great make-ahead dessert. Mostly, I make it a day in advance or the morning of the day I am expecting guests. But you could easily prepare the crème 2-3 days in advance. Simply make the custard, fill the ramekins, bake the crème and put the ramekins in the fridge – when ready to serve, sprinkle on the sugar, caramelize it and voilà!
Crème brûlée can really be made in the comfort of your own home. Trust me. And: Making it at home costs a fraction of the restaurant price!
5 Ingredients
Yep. The oh-so-fancy crème brûlée uses only 5 ingredients! And I definitely cannot stop preaching about how easy it is. Really.
- Heavy cream: Heavy cream is the main component in crème brûlée. Because of heavy cream you get that beautiful creamy, smooth texture. I wouldn’t try substituting heavy cream, but if you’re in a clinch, you might have success with whole milk. I personally haven’t tested this recipe with whole milk.
- Granulated sugar: Sugar lends a bit of sweetness to the delicious crème. And of course, it’s used for the caramelized top on the crème! Instead of caramelizing granulated sugar, you could also use turbinado or demerara sugar. Don’t substitute the sugar in the crème itself though.
- Vanilla: Makes every baked good better! 🙂
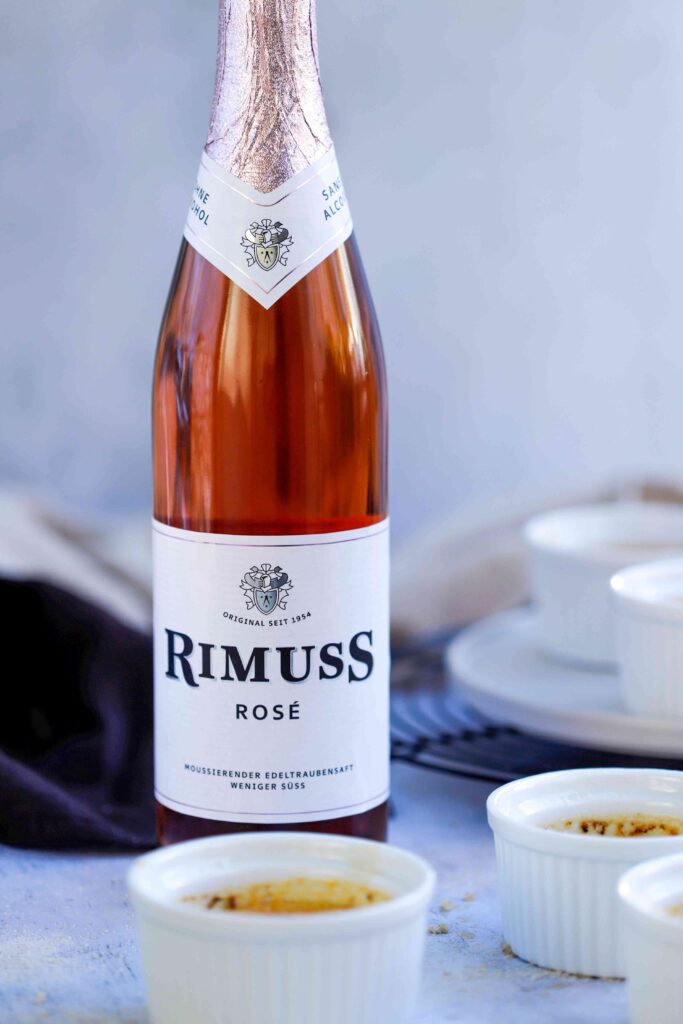
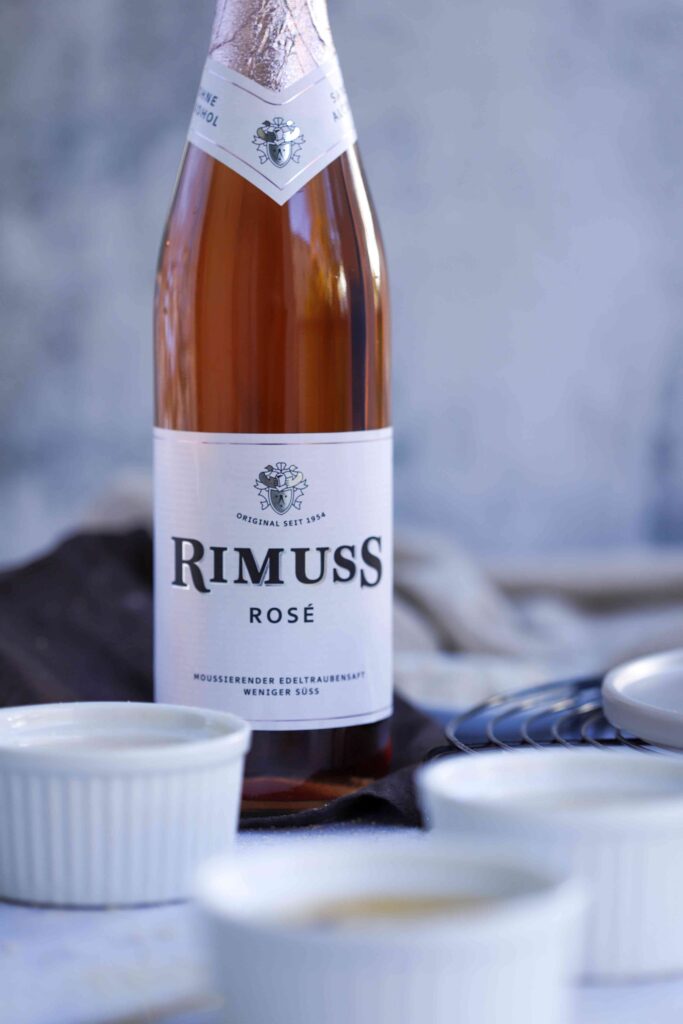
- Rimuss: My favourite ingredient! Rimuss is a Swiss non-alcoholic sparkling wine, and I couldn’t resist adding some into my crème brûlée for a delicious surprise. I used their slightly sweet Rosé, meaning I could cut back on the sugar used in the recipe. Rimuss is a great option for anyone who doesn’t drink alcohol, and they have a huge variety! From a dry sparkling wine all the way to delicious Rosé.
Of course, you can use any non-alcoholic sparkling wine, although I do suggest using a bit of a sweeter one. I think you could also use an alcoholic sparkling wine in this recipe, but just note that I only tested my recipe with non-alcoholic Rosé, so I couldn’t tell you how intense the alcohol flavour would be. - Egg yolks: This recipe calls for egg yolks only. Keep the egg whites to make meringue or Christmas cookies.
Egg yolks make the crème brûlée silky-smooth and luscious. If you were to add egg whites too, the crème would stiffen quite a lot, because egg whites bind more than egg yolks and make the crème a lot more stable. I really enjoy the texture when using only egg yolks.
You also need to temper the egg yolks. Read on for the how to!
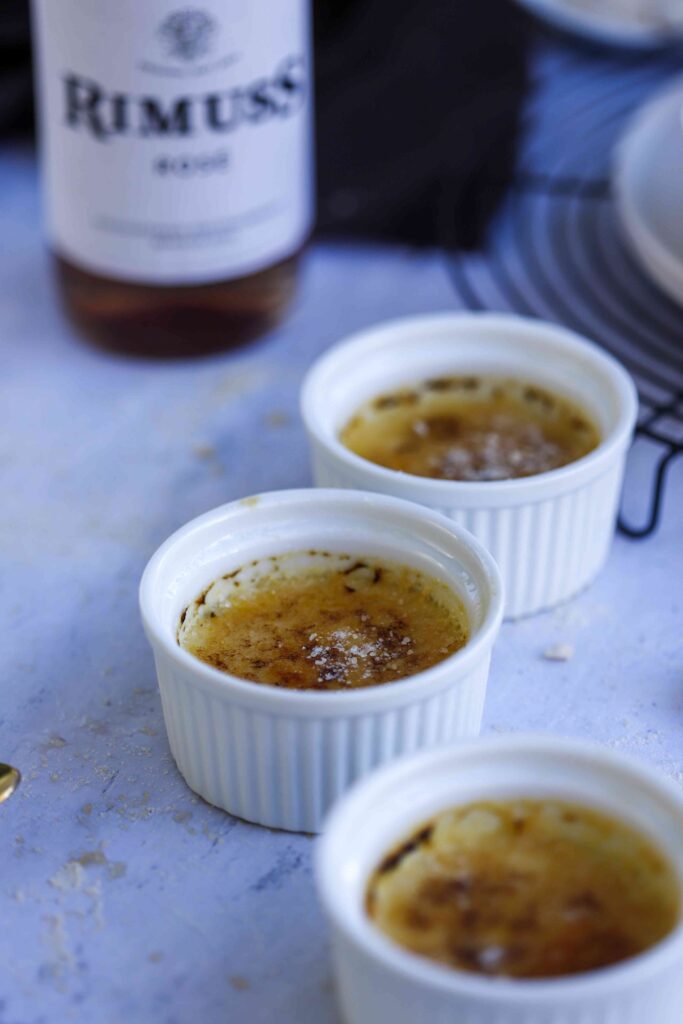
How to make Crème Brûlée with sparkling wine
Preparing the ramekins and the water bath
For crème brûlée, it is best to use shallow ramekins. That way, you’ll still have the same amount of crème, but more brûlée. By using a shallow ramekin, your surface is bigger, which means there is more crème to caramelize. And who wouldn’t want more crispy-crackly caramel to dig in to? 🙂
I use ceramic ramekins, but you could also use little glass dishes. Note that the baking time might have to be adjusted by an additional 10-15 minutes.
Place your ramekins in a big, deep baking pan. The edges of the baking pan at least need to be as high as the ramekins. Next, you boil about 1-2 litres of water.
Once your ramekins are filled with the crème, you will then add the boiling water into the pan. Make sure to NOT get boiling water into the crème! Otherwise it will curdle.
Cream, sugar and sparkling wine
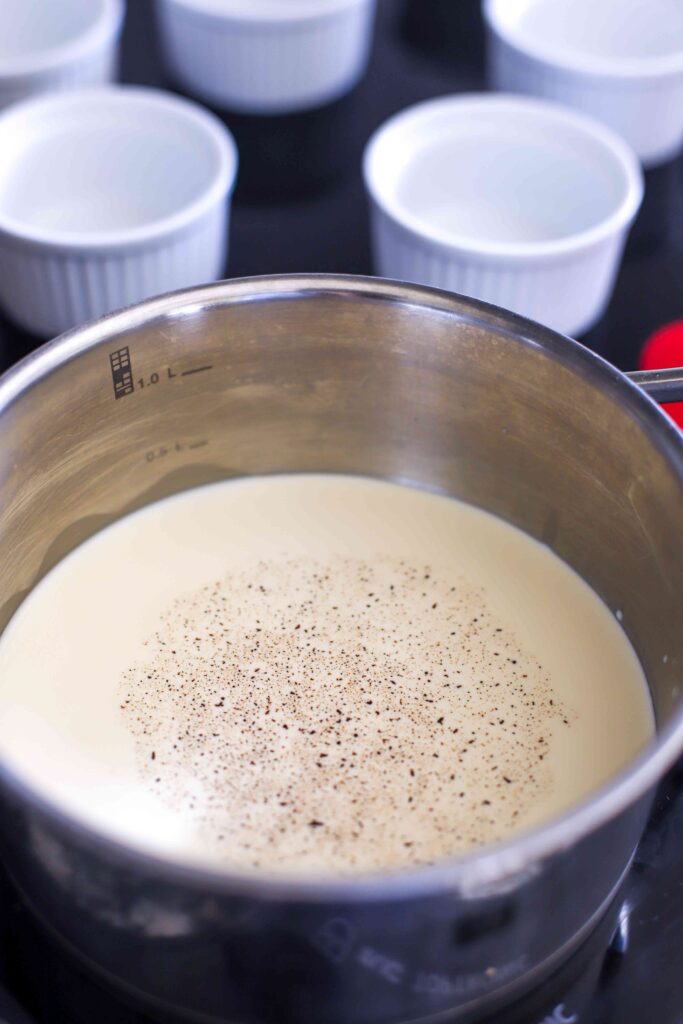
In another pot you heat the cream, some of the sugar and the non-alcoholic sparkling wine. Add in the vanilla. As soon as it starts to bubble, turn down the heat.
Egg yolks and sugar
In the bowl of a stand mixer, you whisk the egg yolks and remaining sugar together until the mixture is pale and fluffy. Then you add in the cream mixture ever so slowly. This step is called “tempering”.
Tempering egg yolks
Tempering egg yolks means that you are slowly raising the temperature of the egg yolks so that they don’t cook a.k.a. scramble. All you need to do is whisk the warm cream mixture into the egg yolks and sugar.
You can either carefully (and SLOWLY) pour the cream mixture into the whisking egg yolks, or ladle in the warm cream. Personally, I think it is a bit easier pouring everything in slowly than pouring spoon after spoon, but you do you. Just make sure to whisk the whole time and pour the cream in extremely slowly (!!), so you don’t risk scrambling the egg yolks. I find it easiest using a stand mixer, so I can concentrate on pouring whilst the mixer does the whisking.
Whisking, pouring and the water-bath
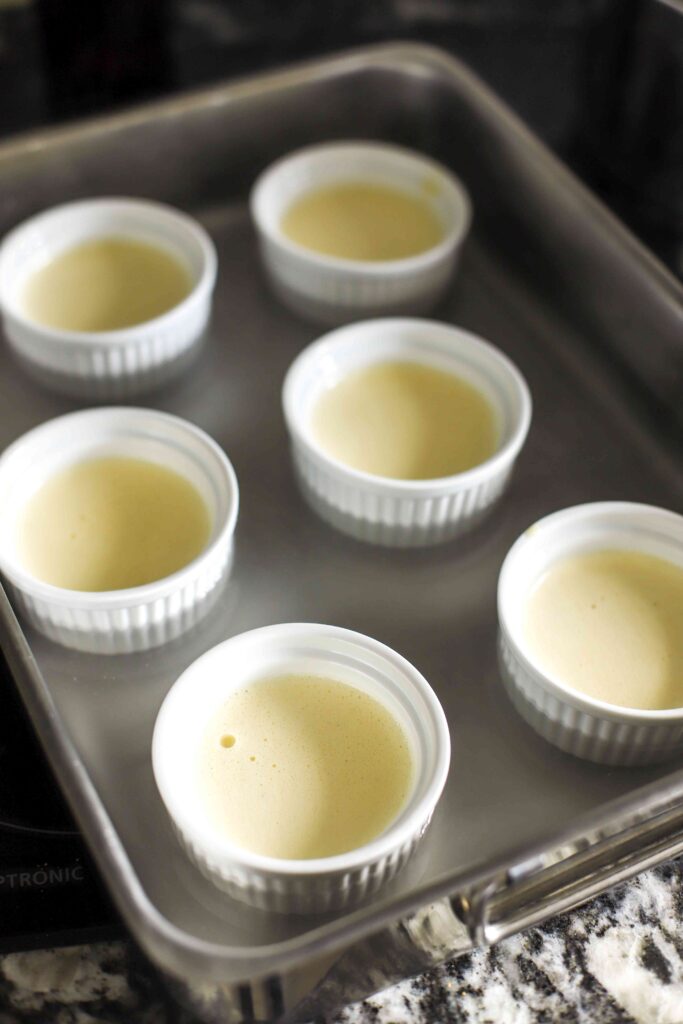
Once all the cream is poured in and the mixture is slightly warm, whisk another 20 seconds on low speed. Pour the finished crème brûlée mixture through a fine mesh sieve to hold back some of the foam (and in case you did scramble some of the eggs, also to stop those little egg bits from getting into the smooth crème brûlée). Pour the strained filling not the ramekins, and carefully pour the boiling water into the baking pan – make sure to not get any water into the ramekins, please! You don’t want all your hard work to finish here! The water-bath ensures that the crème bakes evenly and makes sure to keep that silky-smooth texture.
Baking the crème brûlée
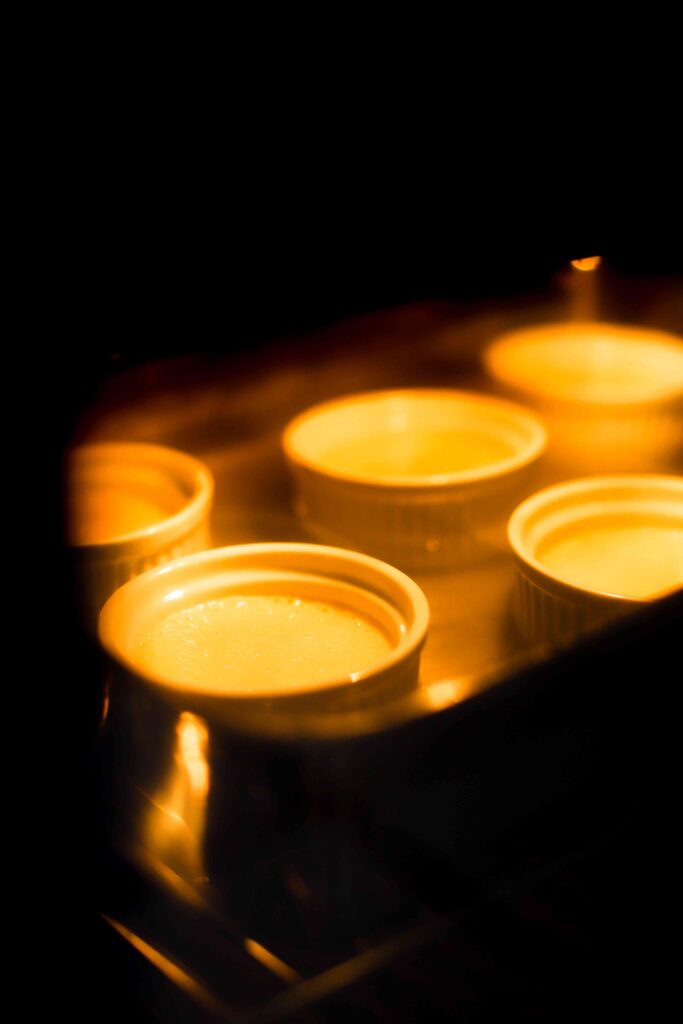
Crème Brûlée can take between 30-50 minutes to bake, depending on the size of your ramekins. The ones I use are about 7 cm big, and I normally bake mine between 35-40 minutes. The crème brûlée will be done when the surface is ever so slightly jiggly.
To test doneness, I carefully take one ramekin out of the water bath and shake it around a little bit. If the crème jiggles in the centre, it’s done. If it is visibly runny, bake for another 10-15 minutes. If it remains runny, it is possible that some water managed to get into the crème.
When baked, take the ramekins out of the water bath and leave to cool for some minutes. Then put the ramekins in the fridge until ready to serve (at least 2-3 hours).
Caramelizing the top
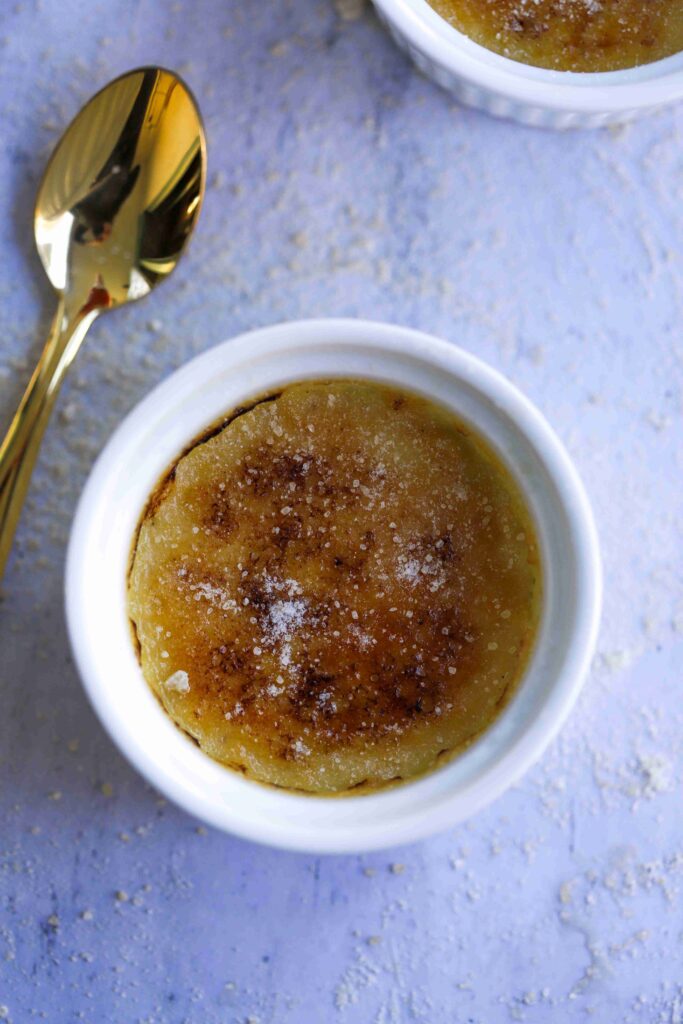
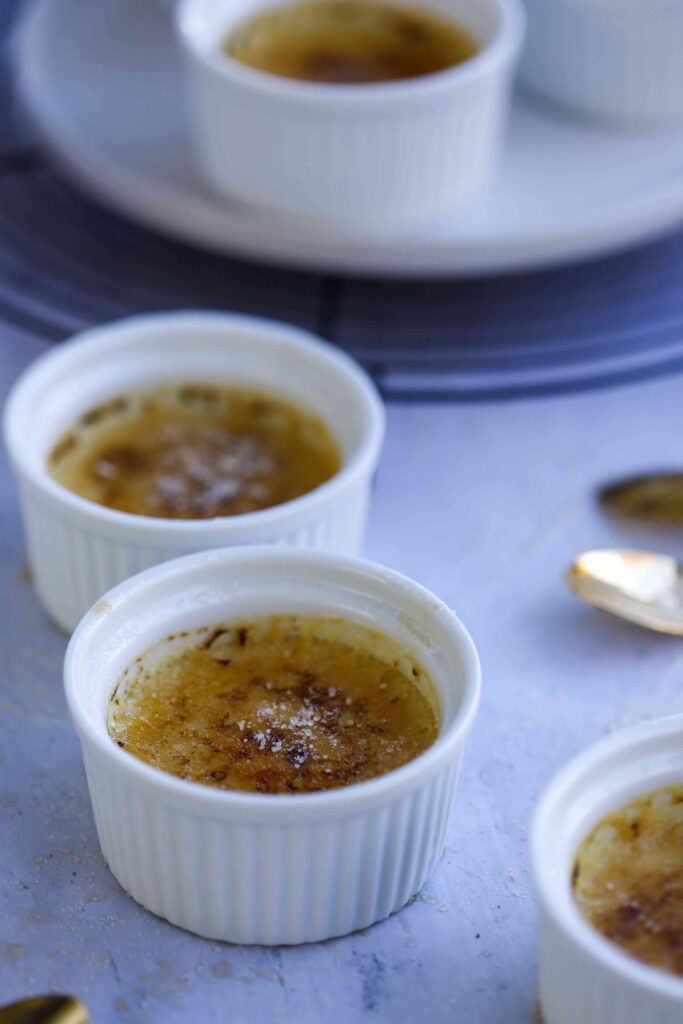
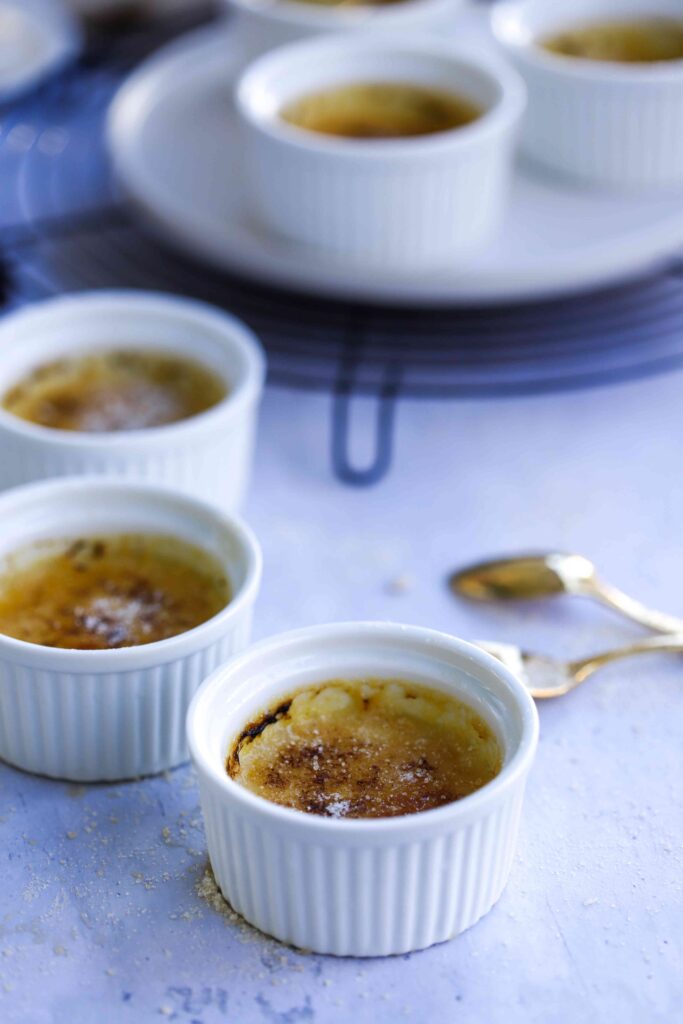
This might just be my favourite part! Evenly sprinkle about 1-2 tablespoons of sugar on top of the crème, and use a blow torch to caramelize the sugar. It will melt and turn into a beautiful gold amber colour. Try not to burn the sugar like I did – it tastes yummy too, but a whole crème brûlée like that would be a bit interesting.
I have read that you can caramelize the crème brûlée by baking the crème brûlée another 2-3 minutes in the oven at a high temperature, but I didn’t test the crème brûlée this way, so I can’t give you any tips. My advice is really to invest in a good blow torch – you’ll be making crème brûlée often after trying this recipe 😉
Last minute FAQ/tips
I put together some points that might seem helpful when making my crème brûlée. Be sure to quickly read through them before starting!
Curdled Crème Brûlée
If your Crème Brûlée looks curdled after baking, there is really only one thing that could have gone wrong: Some water managed to find its way into the crème. Unfortunately, there isn’t a way to save it. It tastes quite fine, so if you don’t mind it looking curdled and tasting a little bit “lumpy”, you will still have a nice French experience eating it.
Next time, try wrapping your ramekins in aluminium foil to create an even higher “wall”, so it’s even harder for the water to get into the ramekin.
Baking time
I suggest trying this recipe at least once before you serve it to guests. Every oven bakes differently, and it is possible that you under- or overbake the crème brûlée. If the crème is too runny, you can always bake it for longer, but you can’t make stiff and stable crème brûlée creamier. A test bake is always a good idea to ensure wow-ing your friends & family!
Depending on your oven and the size ramekins you use, the crème will take 30-50 minutes to bake.
Caramelizing / Brûlée-ing
If you prefer to not have a crunchy caramelized top, you can enjoy the crème as is. Afterall, it is a custard!
If you do caramelize the top, be sure to sprinkle the sugar layer on evenly and thinly – if you feel like the caramelized layer should be thicker, you can always add more sugar, but you can’t take it away.
I’ve shared all the Crème Brûlée info I know – I sincerely hope your Crème Brûlée with sparkling wine will be a great success!
If you make this recipe, please tag me on Instagram and Facebook and don’t forget to leave a comment and rate the recipe! 🙂
You might also like …
- my super delicious creamy Salted Caramel Sauce!
- Mini Black Forest Cakes – a perfect small-portion dessert!
Crème Brûlée with sparkling wine
- Prep Time: 15 minutes
- Cook Time: 45 minutes
- Total Time: 1 hour
- Yield: 6–8 crème brûlée 1x
- Category: Custard
- Method: Baking
- Cuisine: French
Description
Creamy, silky-smooth French vanilla custard is paired with a delicious, crunchy caramelized sugar top. Crème Brûlée is really simple and luscious, and by adding in a little bit of sparkling wine, it is sure to become a new favourite recipe.
Ingredients
- 200 ml heavy cream
- 3 egg yolks
- 50 g granulated sugar
- 1 tsp vanilla sugar – or 1 vanilla bean
- 75 ml non-alcoholic Rosé – I used Rimuss, a Swiss non-alcoholic sparkling wine
- Granulated sugar for caramelizing
Instructions
- Preheat the oven to 150°C non-fan-assisted. Boil about 1.5 litres of water in a big pot. Place the ramekins in a large, deep baking pan.
- In another pot, heat the cream and Rimuss Rosé until just boiling. Add the vanilla and two tablespoons of the 50 g of sugar. As soon as the mixture begins to bubble slightly, turn the heat down and leave pot on the hot stove, stirring every few minutes.
- Whilst the cream mixture is simmering, beat the egg yolks for about 2 minutes on medium-high speed in a bowl until foamy. Slowly add the sugar and whisk for another 3-5 minutes until the mixture is light and fluffy.
- Continue to mix the egg yolk-sugar mixture on low speed. Pour approx. 5-7 tablespoons of the warm cream mixture into the whisking egg yolk mixture to temper the egg yolks. This step is important, otherwise the egg yolks will be cooked/scrambled.
- As soon as the temperature of the egg yolk mixture is warmer, pour in the whole cream mixture and continue stirring briefly in the bowl.
- Pour the finished crème brûlée mixture through a sieve into a large measuring cup and then evenly pour into the ramekins. Slowly pour the boiling water into the large baking pan to create a water-bath – be careful that no water gets into the crème brûlée ramekins!
- Carefully place the large baking pan in the oven and bake for about 35-40 minutes.
- The crème brûlée is ready when you can shake the ramekin slightly and the surface jiggles a little bit. If the crème is still runny, bake for another 10 minutes. (If the crème is still runny/watery after 50 minutes of baking, water probably got into the crème. Unfortunately, you can’t save it – the crème brûlée is curdled).
- After baking, remove the ramekins from the water-bath and let them stand at room temperature for about 10 minutes. Then put them in the fridge for at least two hours.
- Take the ramekins out of the fridge and sprinkle about one tablespoon of granulated sugar on each crème brûlée. The sugar layer should be thin and even.
- Caramelize the sugar with a blowtorch until it melts and turns golden brown. First the sugar liquefies and then it hardens.
If the caramel layer is not hard or thick enough, sprinkle some more granulated sugar on top and caramelise again. - The Crème Brûlée with sparkling wine should be enjoyed cold!
Notes
- Crème Brûlée can be prepared 1-3 days in advance. Do not caramelize the surface until the day of eating!
- You must be very careful when baking the Crème Brûlée in the water-bath. Water must not get into the crème!
- You must also temper the egg yolk mixture very carefully. Slowly pour the cream mixture into the whisking eggs!




[…] the perfect crème brûlée is even better with the right pairing. From drinks to garnishes, there are many ways to make this […]