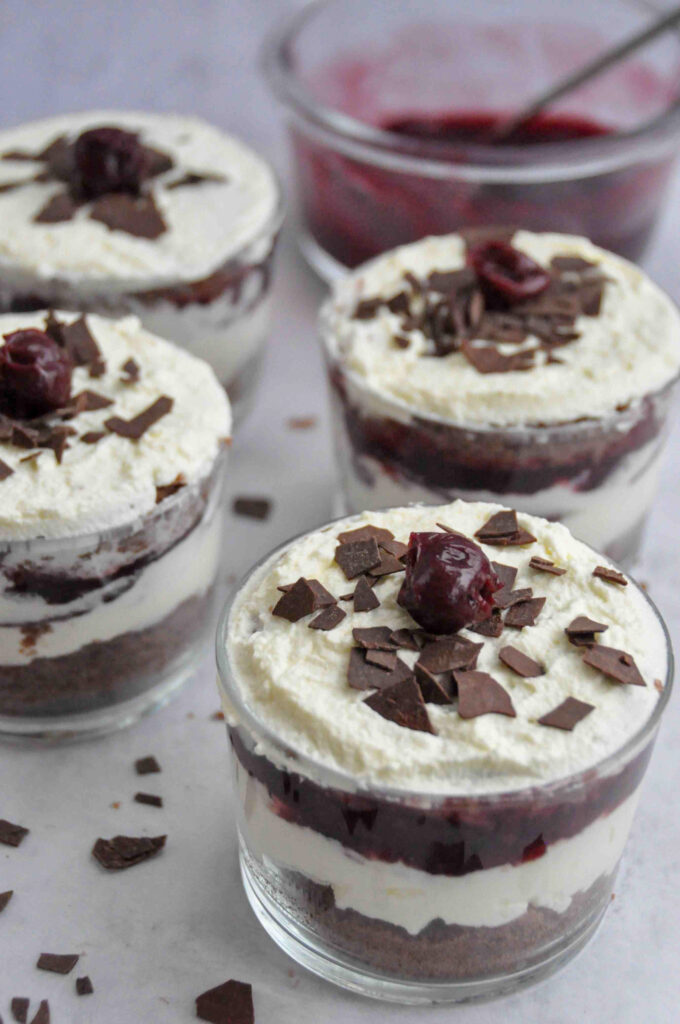
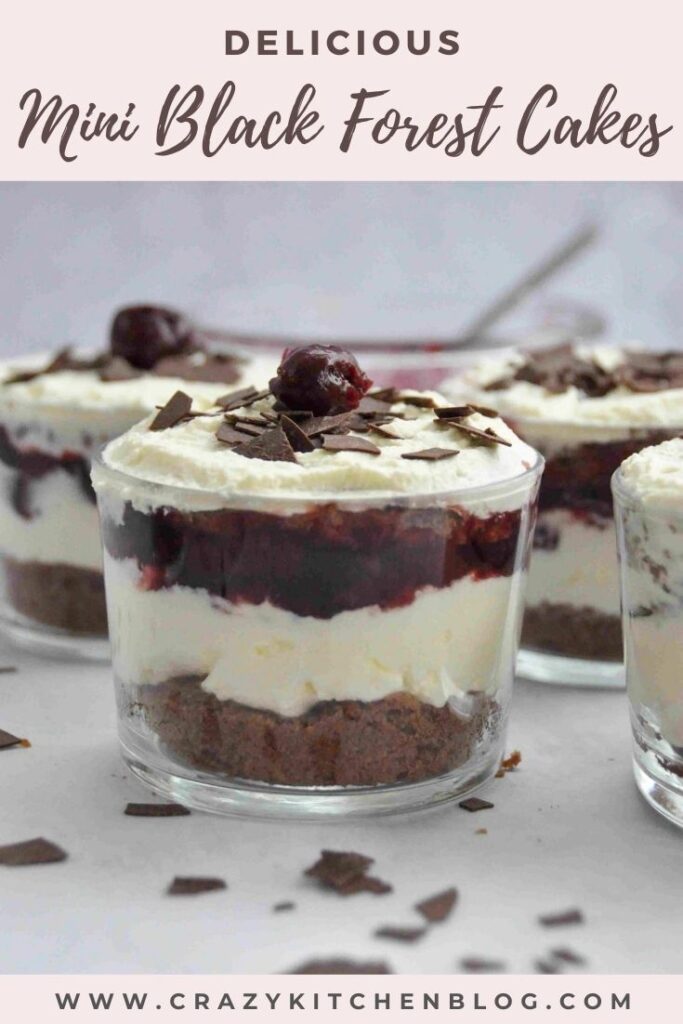
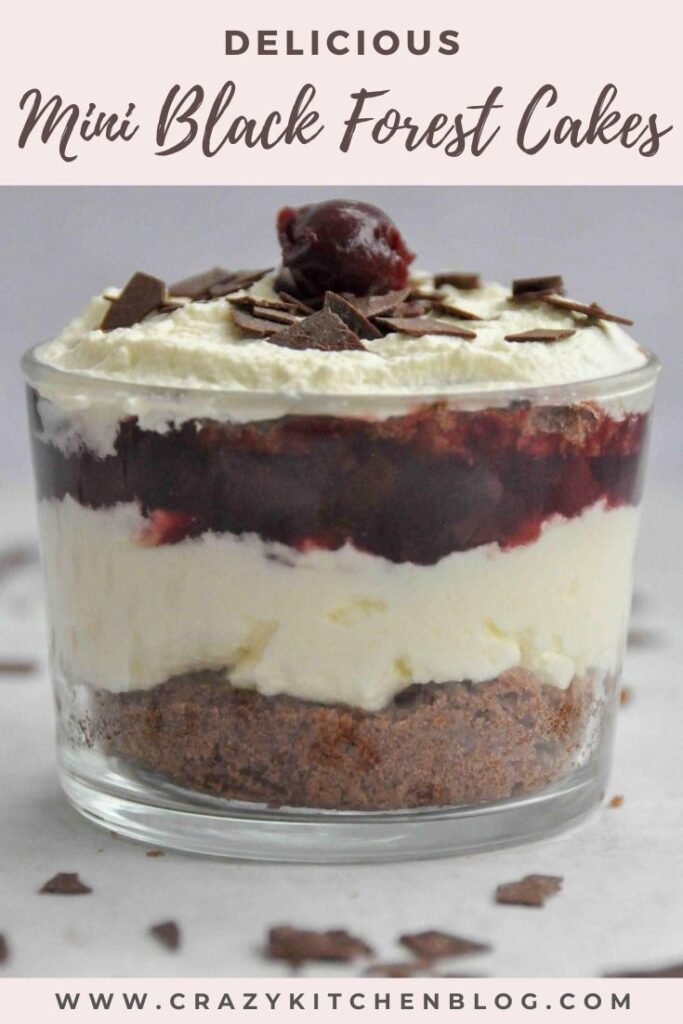
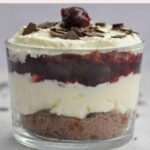
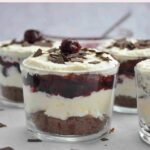
Short and sweet – literally! These Mini Black Forest Cakes are super easy and super yummy. The combo of chocolate cake, whipped cream, cherries, and a little bit of Kirsch is heavenly!
What is Black Forest Cake?
Oh, I am so glad you asked. It’s one of the nicest cakes in my opinion. A little bit time-consuming to make, but totally worth it. Think of fluffy chocolate cake plus softly whipped cream plus sour cherries (plus maybe some Kirsch, too) … yum yum yum!
Black forest is a region in Germany (Schwarzwald). “Schwarz” means black, and “Wald” means forest. Go figure! The yummy cake finds its origin here … probably. A different theory says the name “black forest” was given to this cake because the traditional chocolate coating – dark chocolate that has been grated – looks a bit like a dark forest. We’ll never know.
The huge cake you buy at a bakery in Schwarzwald would be a several-hour-process at home (that’s why bakeries make them so you don’t have to!) 🙂 But the steps are actually really simple, so if you make a few smaller versions like I have here, you will be done in a jiffy.
You begin by baking the cake in a long tray, letting it cool, and cutting out little “cake rounds”. Whilst it is baking you prepare the sour cherry filling, and the simple syrup. Finally, you whip the cream and put it in the fridge. Lots of simple steps 🙂 And, of course, you can also leave the Kirsch out, and use cherry juice instead, or omit it totally, in case you don’t get ahold of any of the two.
A few of my followers on Instagram and some blog users have asked me to include more step-by-step photos. So that’s exactly what I’m doing with this recipe – less talking (a.k.a. writing), more pictures. Enjoy!
Step 1
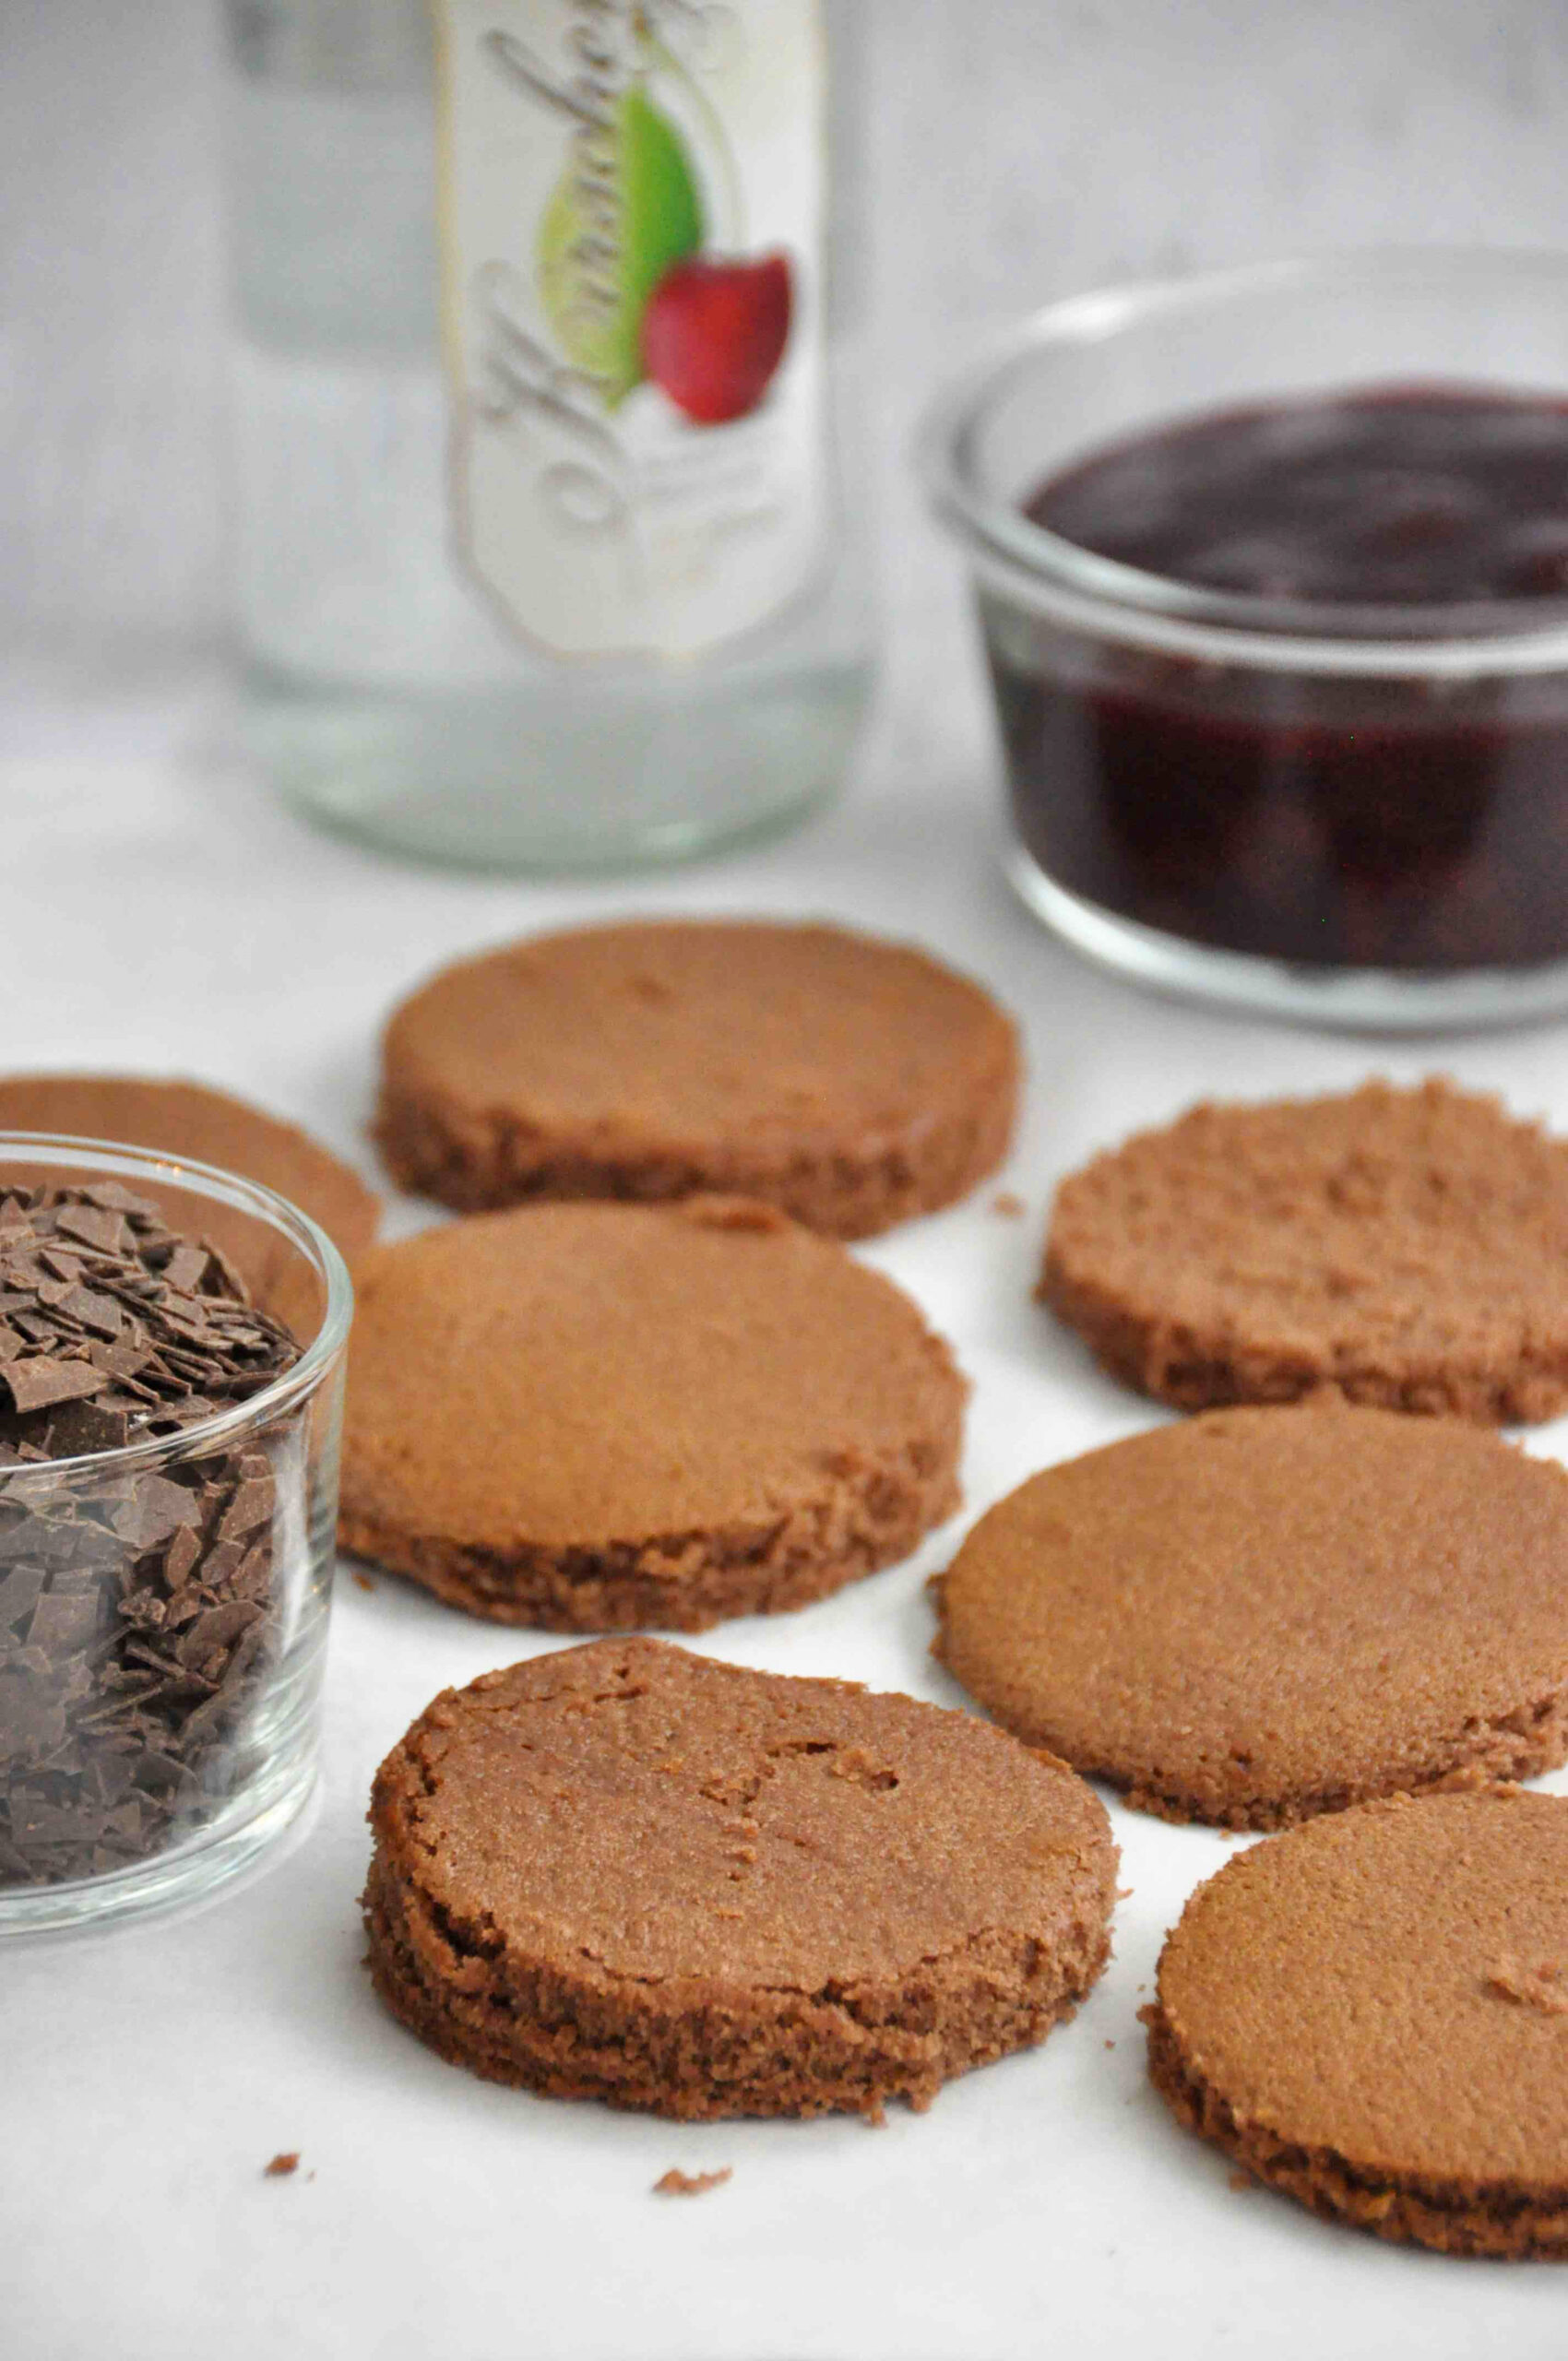
First, we bake the chocolate cake in a long-ish baking tray. If your tray is too long, you can use a heatproof dish to fold-up the baking paper and create a “wall” to stop the batter from spreading. The cake will rise during baking, so the raw batter should be about a centimeter high.
→ Whilst the cake is baking (and cooling afterward), I recommend making the different fillings, as some need time to cool too. See “Step 2” on how to make the simple syrup, “Step 3” on making the whipped cream, and “Step 4” on how to make the sour cherry filling.
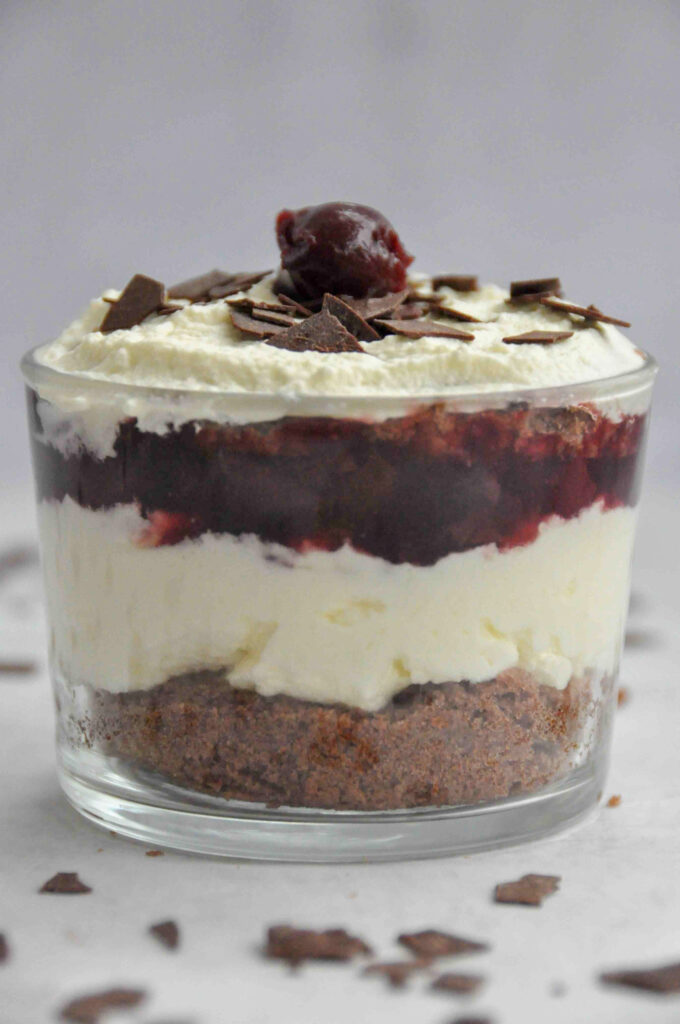
→ This is one dessert that calls for a see-through (clear glass) serving jar/bowl. The wow-factor is definitely going to be when your guests & friends discover all those beautiful layers. If you’d like you can of course use a mason jar or any jar that is really tall, and fill it with multiple layers.
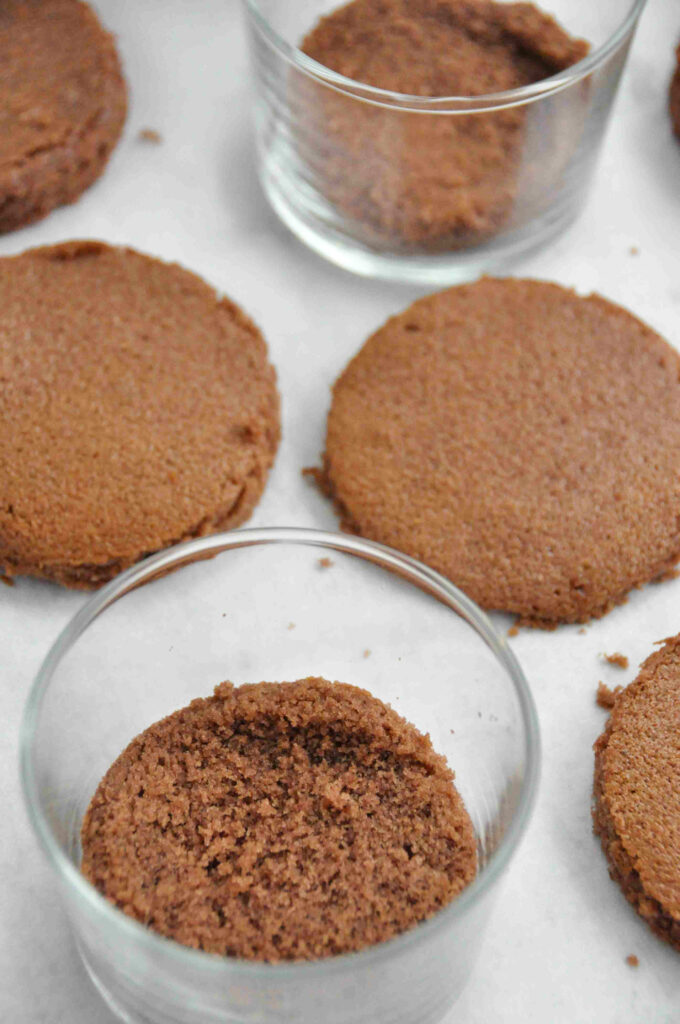
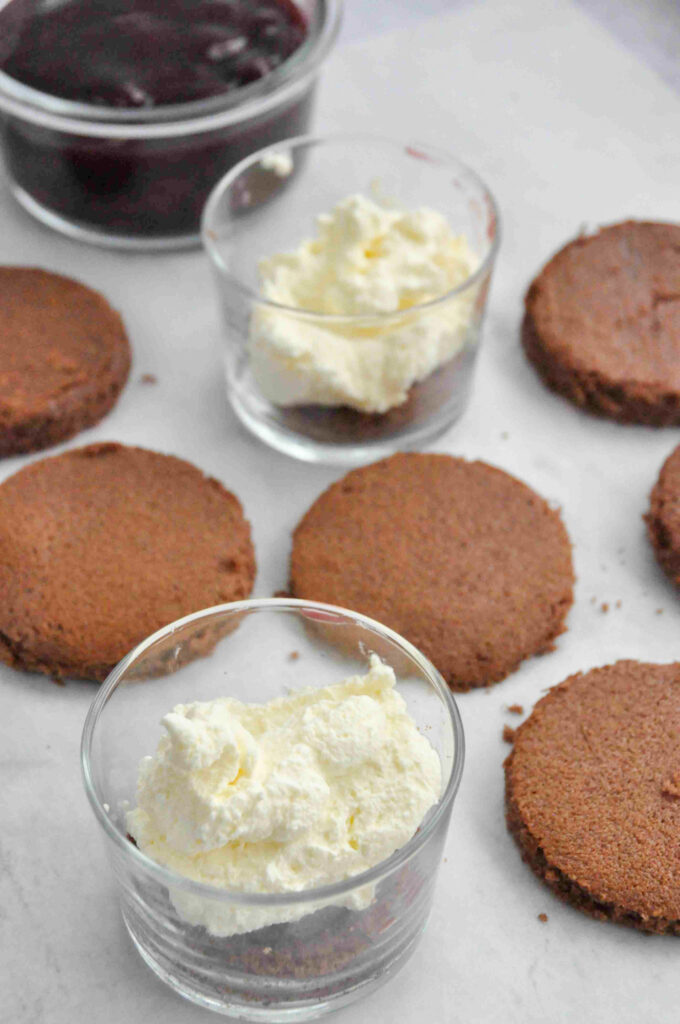
When the cake has cooled, use the same little jars you will use for serving later to cut out holes. You can place it on the baked cake and use a knife to cut it out, or, like I did, just push the whole glass through the cake. Works well and is less time-consuming! 🙂 If your cake is too thick, cut out a cake round and then carefully slice it in half.
Step 2
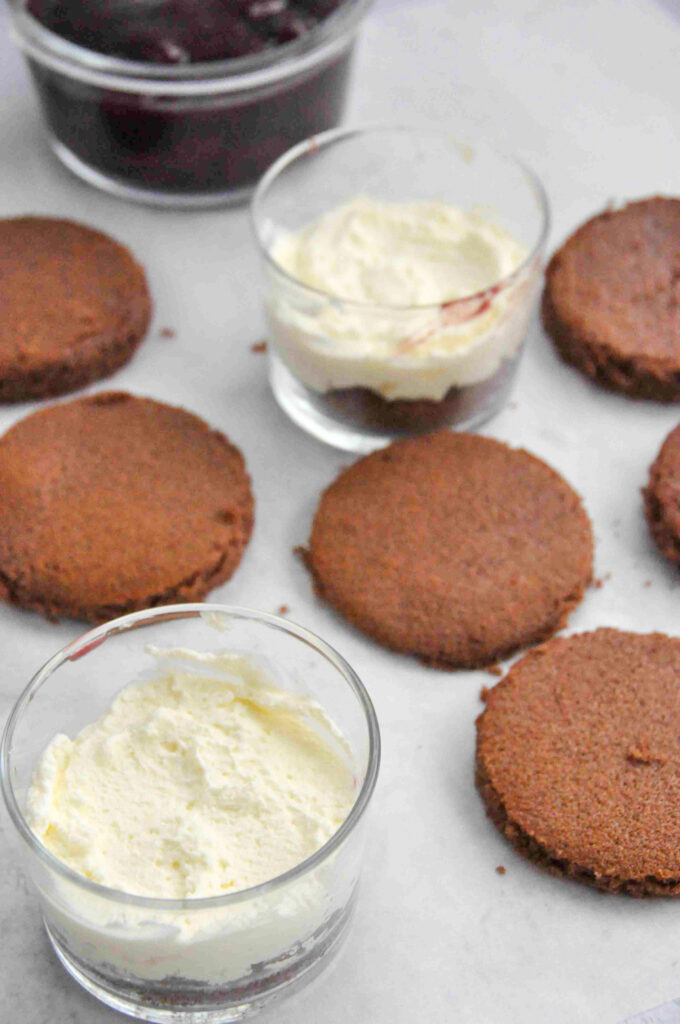
Carefully place your little cake rounds into your jars or glass bowls. If your jars are a little bit angled like mine, just gently push the cake layer down – don’t push it down too hard, because you might squish the fluffy cake layer. Next, brush some Kirsch/cherry simple syrup on the top of the cake.
How to make the simple syrup
In a small pot, boil the water, Kirsch / cherry juice and sugar. Stir a few times to make sure the sugar has dissolved. Take the pot off the stove, pour the syrup into a heat-proof glass and place in the fridge to cool.
Assembly
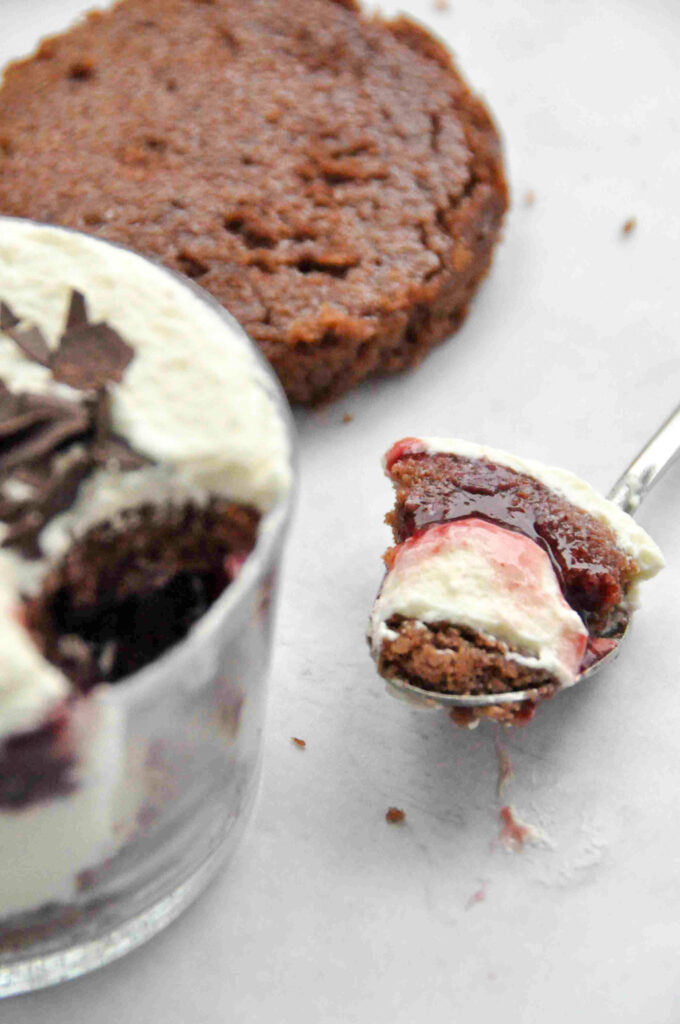
The syrup keeps the cake nice and moist. You could also use a toothpick to poke some holes into the cake base itself, and then brush on the simple syrup. Like this, the cake will have a stronger Kirsch flavour.
Step 3
Whilst the cake is baking, I strongly suggest you make all three fillings – the simple syrup, the whipped cream, and the sour cherry mixture. Especially the cream and the sour cherry filling need time to cool – please allow enough time to let them cool.
How to make the whipped cream
A tip when making the whipped cream: make sure it’s really cold – then you don’t even need a stabilizer to whip it up!
Whip the cold full-fat whipping cream on high speed until soft peaks appear. If you feel more comfortable using a whipped cream stabilizer (yep, we get that in Switzerland – don’t know if you get it elsewhere?), go ahead. When you’ve got softly whipped cream, add in a little bit of sifted powdered sugar, and whip until you have almost stiff peaks. Place in the fridge to stay cold.
Assembly
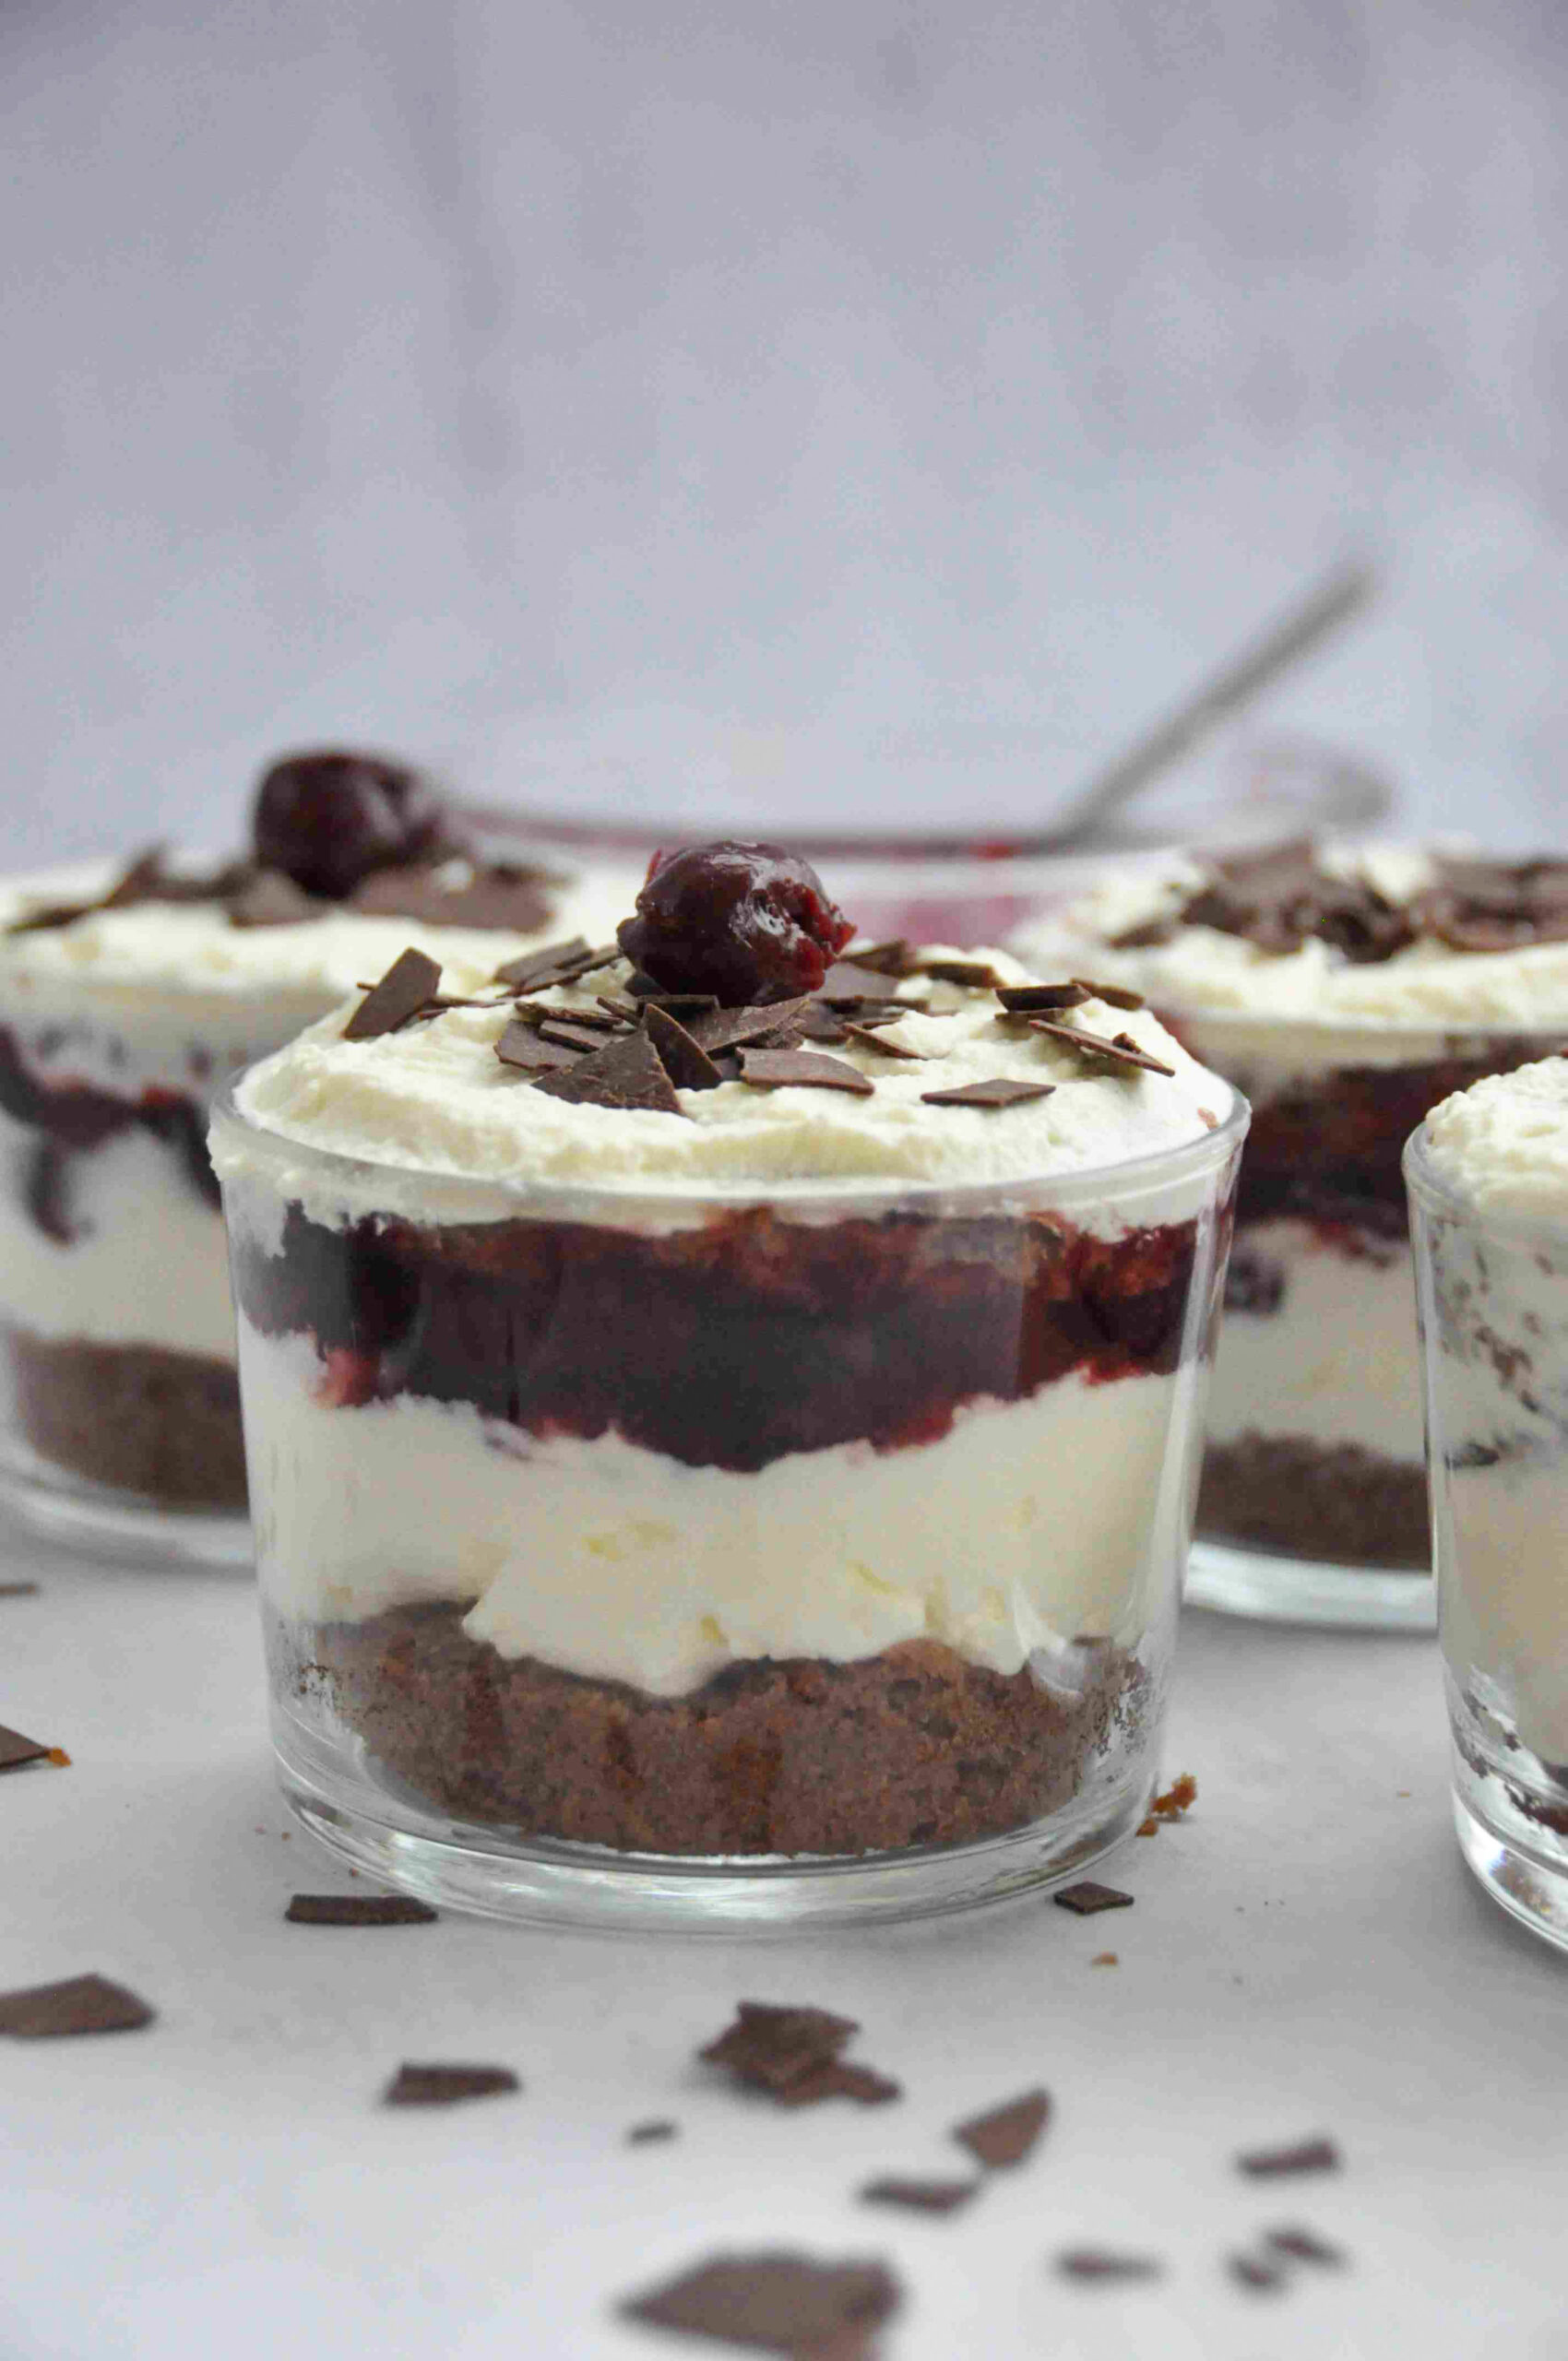
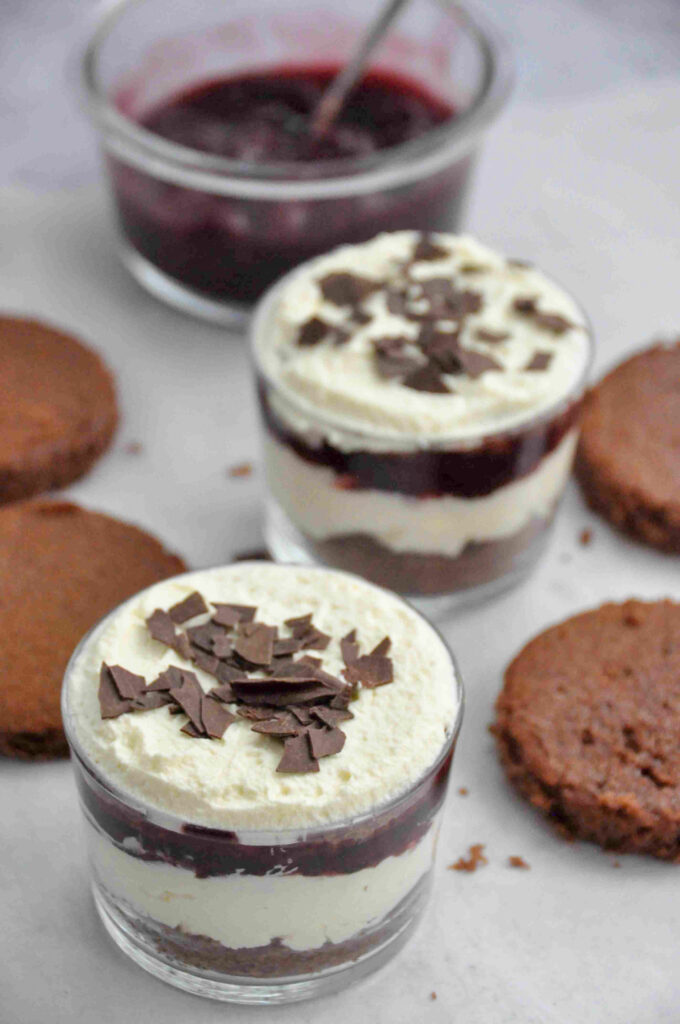
Put about two tablespoons of whipped cream on top of the cake base, and carefully smooth it out with a spoon or a spatula. If the edges and sides of your glass are a bit messy, use a kitchen towel to clean away the smudges. If you like the rustic look of the different layers mixing together (as seen in the pictures for step 4) you, of course, don’t need to wipe it down.
Step 4
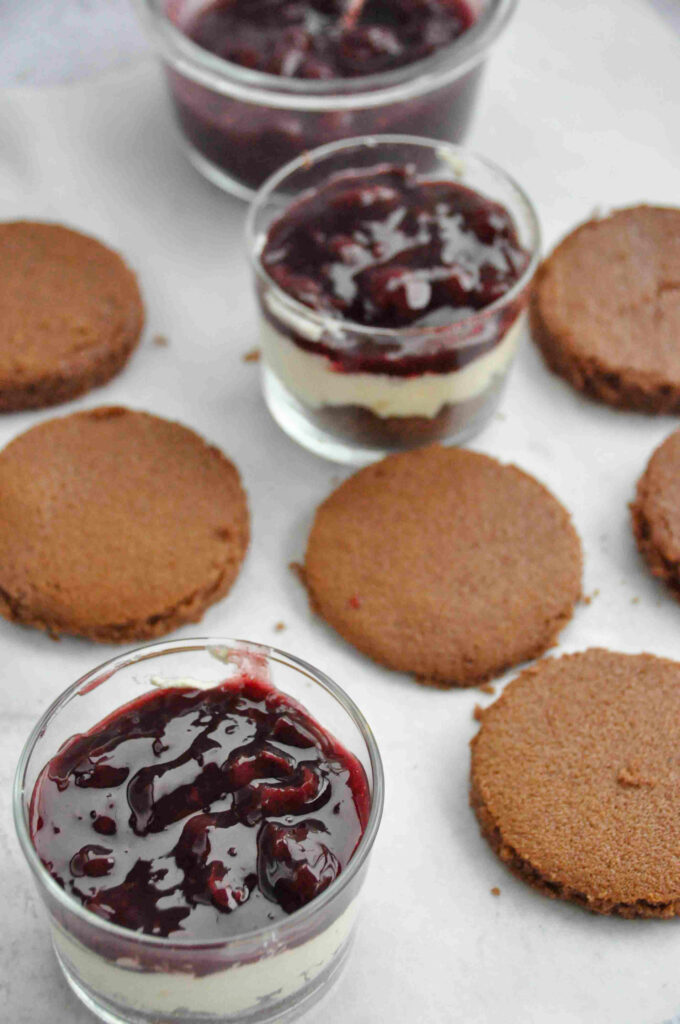
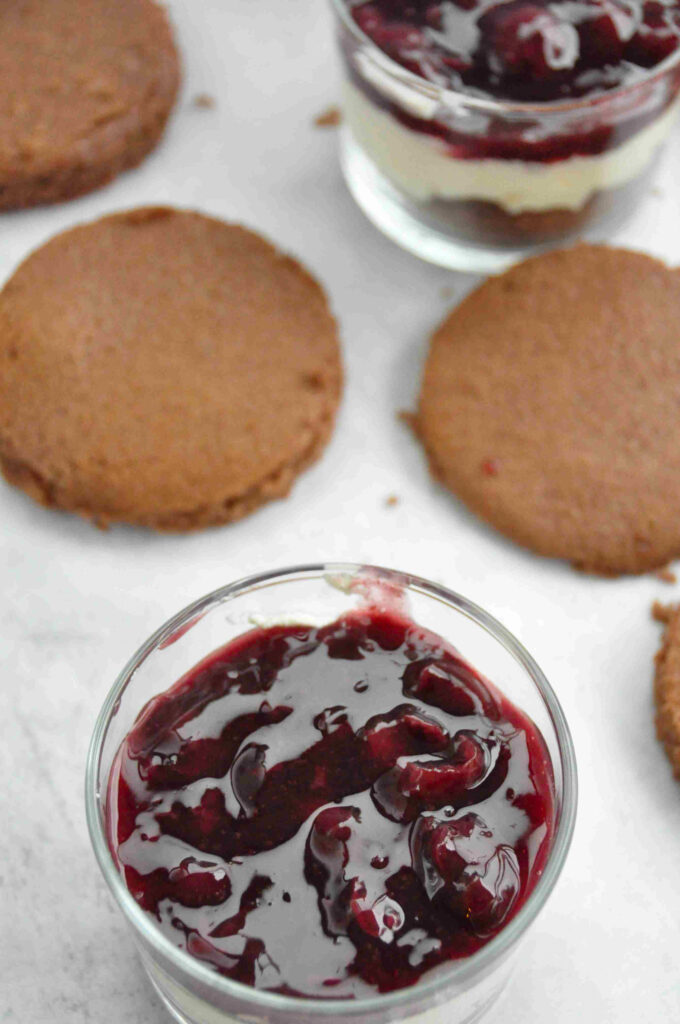
The next thing you do is place a (generous) amount of the sour cherry filling on top of the cream. If your whipped cream is stiff & cold enough, it should actually put up with the weight from the following layers on top. If it starts to “sink” because the sour cherry mixture is too heavy, place it in the fridge for about half an hour (or 15 minutes in the freezer – works too).
How to make the sour cherry filling
Place a sieve over a medium sized pot, and pour the sour cherries into it. Shake the sieve a few times to drain the cherries as much as possible – you want all the juice you can get. Put the sieve aside with the drained cherries still in it; you will need them in a few moments. Turn on the stove to medium heat.
Next, you add in the lemon juice, sugar and cinnamon, and stir well. Then you add in the cornstarch, turn the heat to medium-high, and stir really well, to make sure no clumps form. Whisk continuously, as the mixture will start to thicken.
When it has been cooking for about 5 minutes and the mixture has thickened, add in the cherries. Reserve about 8-10 cherries for decorating later; or if you’re going to use fresh cherries to decorate, you add all of the cherries into the mixture. Stir gently, and then let cool in the pot in the fridge.
Assembly
I used about two tablespoons of the filling, and also gently smeared it around with my spatula. If you have some big cherries in the filling, push them down a little bit.
Steps 5 & 6
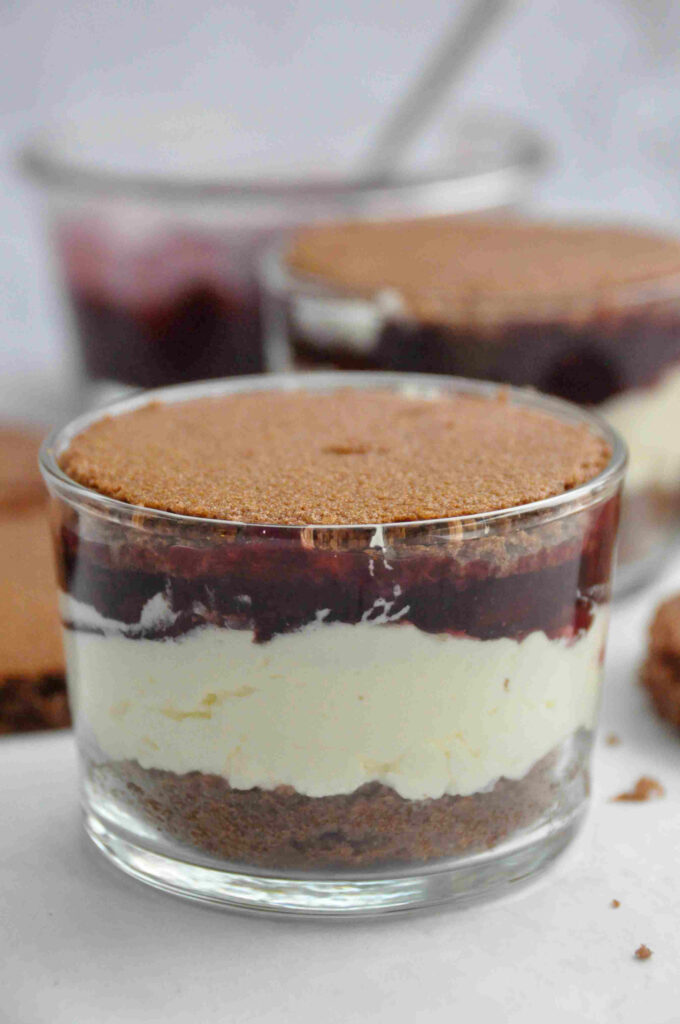
If you still have space in your jar/glass, you finish off the mini-dessert-cake by placing another cake layer on top (and if you still have space, keep going and add those layers 🙂 ). Gently push the top cake layer into the glass, making sure it is aligned with the edge of the glass.
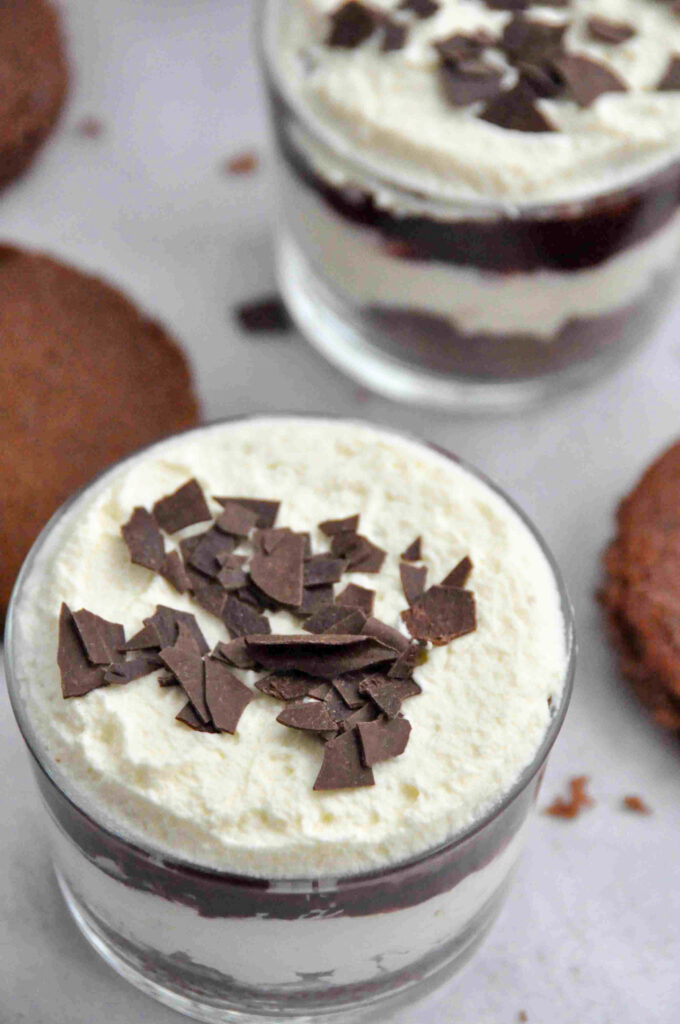
Next, put a small dollop of cream on top, and spread it on top. Add a bit more whipped cream if you see parts of the cake are showing.
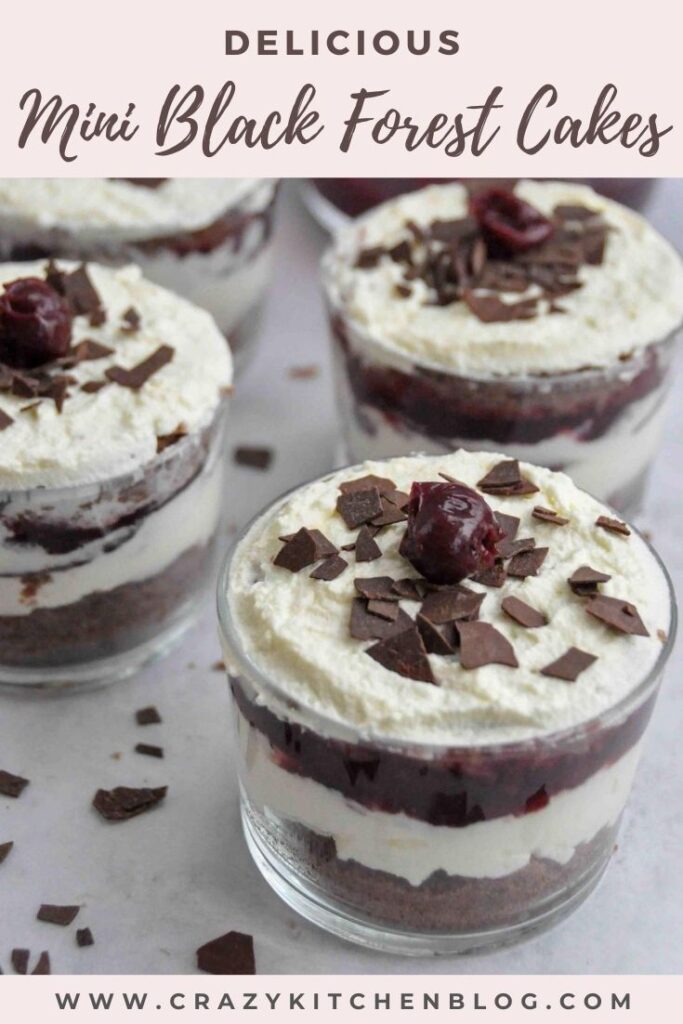
Sprinkle on some grated dark chocolate, chocolate sprinkles, chocolate shards etc. – whatever you feel like. I went for a simple look and didn’t add on too much, but it would also look beautiful (and more like the classic Schwarzwäldertorte) if you cover the whole top with chocolate.
To finish off, simply place a reserved cherry (from the sour cherries) in the middle, or if you have fresh cherries or Maraschino cherries, use those.
And that’s it! Simple, elegant and really tasty.
If you make these Mini Black Forest cakes, please leave me a comment and rate the recipe! 🙂 And don’t forget to tag me on Instagram and Facebook.
You might also like …
- My favourite Brownies with brown butter and a whole lotta’ chocolate
- My Torta Caprese recipe – a naturally gluten-free, nutty chocolate cake
Mini Black Forest Cakes
- Prep Time: 2 hours
- Cook Time: 15 minutes
- Total Time: 2 hours 15 minutes
- Yield: about 8 mini cakes 1x
- Category: Cake
- Method: Baking
- Cuisine: German, Swiss
Description
These cute mini Black Forest Cakes are the perfect dessert to satisfy that chocolate-cream-craving. Add some cherries and some Kirsch (or cherry juice), and you have yourself a dessert fit four your next gala-evening at home.
Ingredients
Chocolate Cake
- 135 g butter, melted
- 2 eggs
- 170g white sugar
- 1 tbsp vanilla extract or sugar
- 1 ½ tbsp cocoa powder
- 200 ml milk
- 200 g flour
- 1 ½ tsp baking powder
- 1 pinch salt
Simple Syrup
- 50 ml water
- 50 ml Kirsch or cherry juice
- 20 g white sugar
Whipped cream
- Approx. 500 ml full fat whipping cream
- 2 tsp powdered sugar, sifted
- Optional: cream stabilizer
Sour cherry filling
- 1 jar of sour cherries, about 650 g
- 15 g corn starch
- 1 ½ tsp lemon juice
- 1–3 pinches of cinnamon
- 30 g white sugar
Instructions
Chocolate Cake
- Preheat oven to 230°C/ 450°F (fan-assisted/convection). Line a large baking tray with baking paper and grease well. Make sure to leave some paper hanging over the edge, so you can lift the cake out after baking.
- Melt butter in the preheating oven in a small heat-proof dish.
- In the bowl of a stand-mixer, cream together the eggs, sugar, vanilla and melted butter until light and fluffy on medium-high speed.
- Whisk together all the dry ingredients. Add the first half of the dry ingredients into the butter-sugar-mixture. Mix well.
- Pour in all the milk whilst mixing on low speed – don’t worry if it begins to curdle, it will come together. Then add the remaining part of the dry ingredients, mix well and scrape down the edges of the bowl with a spatula.
- Pour into the prepared baking tray (see notes). Put the tray into the oven on the lowest rack and immediately turn down the temperature to 180°C (fan-assisted/convection). Bake for 12-15 minutes.
- Let cool in the tray for about 15 minutes, and then lift the parchment paper onto a cooling rack.
Sour cherry filling
- Whilst the cake is baking, make the sour cherry filling. Put a medium sized pot on the stove, and place a sieve over it. Then empty the jar of sour cherries into the sieve, and gently shake it around to drain the cherries. Carefully lift the sieve off the pot, and keep the cherries in the sieve, until you use them in a few minutes. Turn on the stove to medium.
- Add the lemon juice, cinnamon and sugar. Stir well. Next, add the corn starch. Turn the heat to medium-high and whisk continuously. The filling will begin to thicken.
- When the filling has thickened, add the cherries, but reserve about 8-10 to decorate. Let cool in the pot for at least 2 hours.
Simple Syrup
To make the simple syrup, which is best made in advance (the day before or a few hours), boil the water, sugar and Kirsch (or cherry juice) in a small pot. When it has come to the boil, remove off heat and set aside to cool.
Whipped cream
- Make sure your cream is cold. Pour it into the bowl, and start beating it. When it starts to firm up, pour in the sifted powdered sugar. Whip until soft peaks form.
To assemble the cake:
- Using one of your jars, cut out little cake rounds out of the huge cake layer. If your cake is too thick, cut out one cake round, and then carefully slice it in half. One cake round should be about 1 cm thick.
- Gently place it into your jar and push it down slightly. Brush the cake layer with the simple syrup.
- Next, put about 2 tablespoons of cream on top and smooth it out.
- Then add about 2 tablespoons of the sour cherry filling and also smooth it out. Place the next cake layer on top, and also brush with simple syrup.
- Put a small dollop of cream on top, smooth it out and sprinkle on some grated chocolate. Decorate with a single cherry. Place in the fridge to firm up for at least 2 hours (I wouldn’t prepare much longer than 10 hours in advance). Enjoy!
Notes
- The mini cakes are best eaten the day of putting the dessert together.
- Instead of Kirsch, you can of course use cherry juice – or leave it out altogether.
- My baking tray was a little bit too big, so I folded my parchment paper halfway. I didn’t cut off the excess – instead, I just made sure that it held that 90° angle: In order that this “wall” could actually stand, I put two heatproof glass bowls into the baking tray behind the “wall”, so the batter couldn’t go behing the wall.

If making these ahead of time , do you recommend using more of a brownie or poundcake to decrease sogginess?
Thank you!!
Denise
Dear Denise,
I am so sorry for only replying now. I somehow did not get notified about your comment.
In my opinion, some “sogginess” adds to this dessert. I am sure a brownie-layer would be delicious, but I think the brownie-layer itself might be too rich for this desserts. But if you like an all-in kind of dessert, go ahead! 🙂
I would probably rather go for the poundcake, they. It is a bit less dense and rich than a brownie, and would probably also be better able to fuse with the other flavours of this dessert. My guess is that it wouldn’t go soggy all too soon, but maybe don’t make these cakes more than 24 hours in advance.
I hope this (late) answer helped you – maybe you’ve already made these and can report back?
Have a great day,
Joelle